
Countdown timer
The Countdown Timer section adds urgency and excitement to your store by displaying a live timer that counts down to a specific date or event. Perfect for flash sales, product launches, or limited-time promotions, it helps encourage quicker customer action and boosts engagement.
How to Add the Countdown Timer Section
- From your Shopify admin, go to Online Store → Themes.
- Click Customize on the Flaunt theme.
- In the Theme Editor, use the drop-down selector to choose the page where you want to add or edit the Countdown Timer section.
- Click Add Section (or select an existing Countdown Timer section if already added).
- Click Save to apply your changes.
How To Edit the Countdown Timer section
Here are the steps to configure the options mentioned for the Countdown Timer section in your Flaunt Shopify theme:
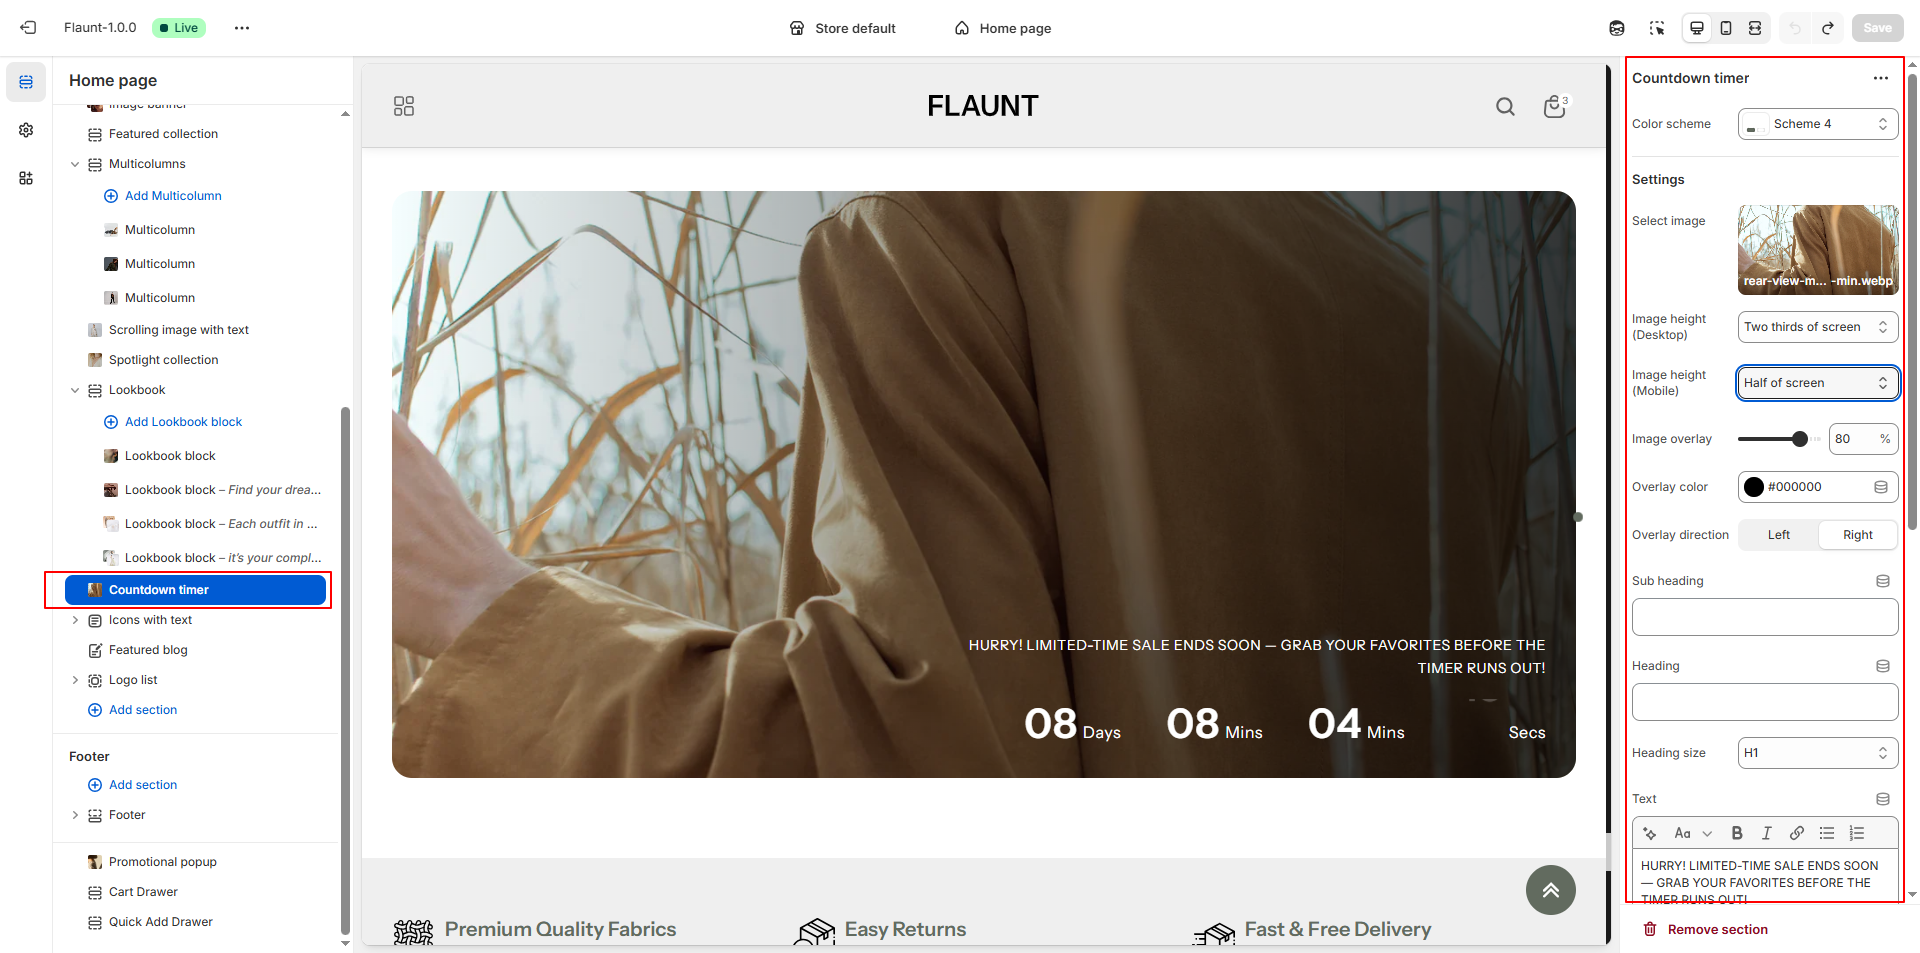
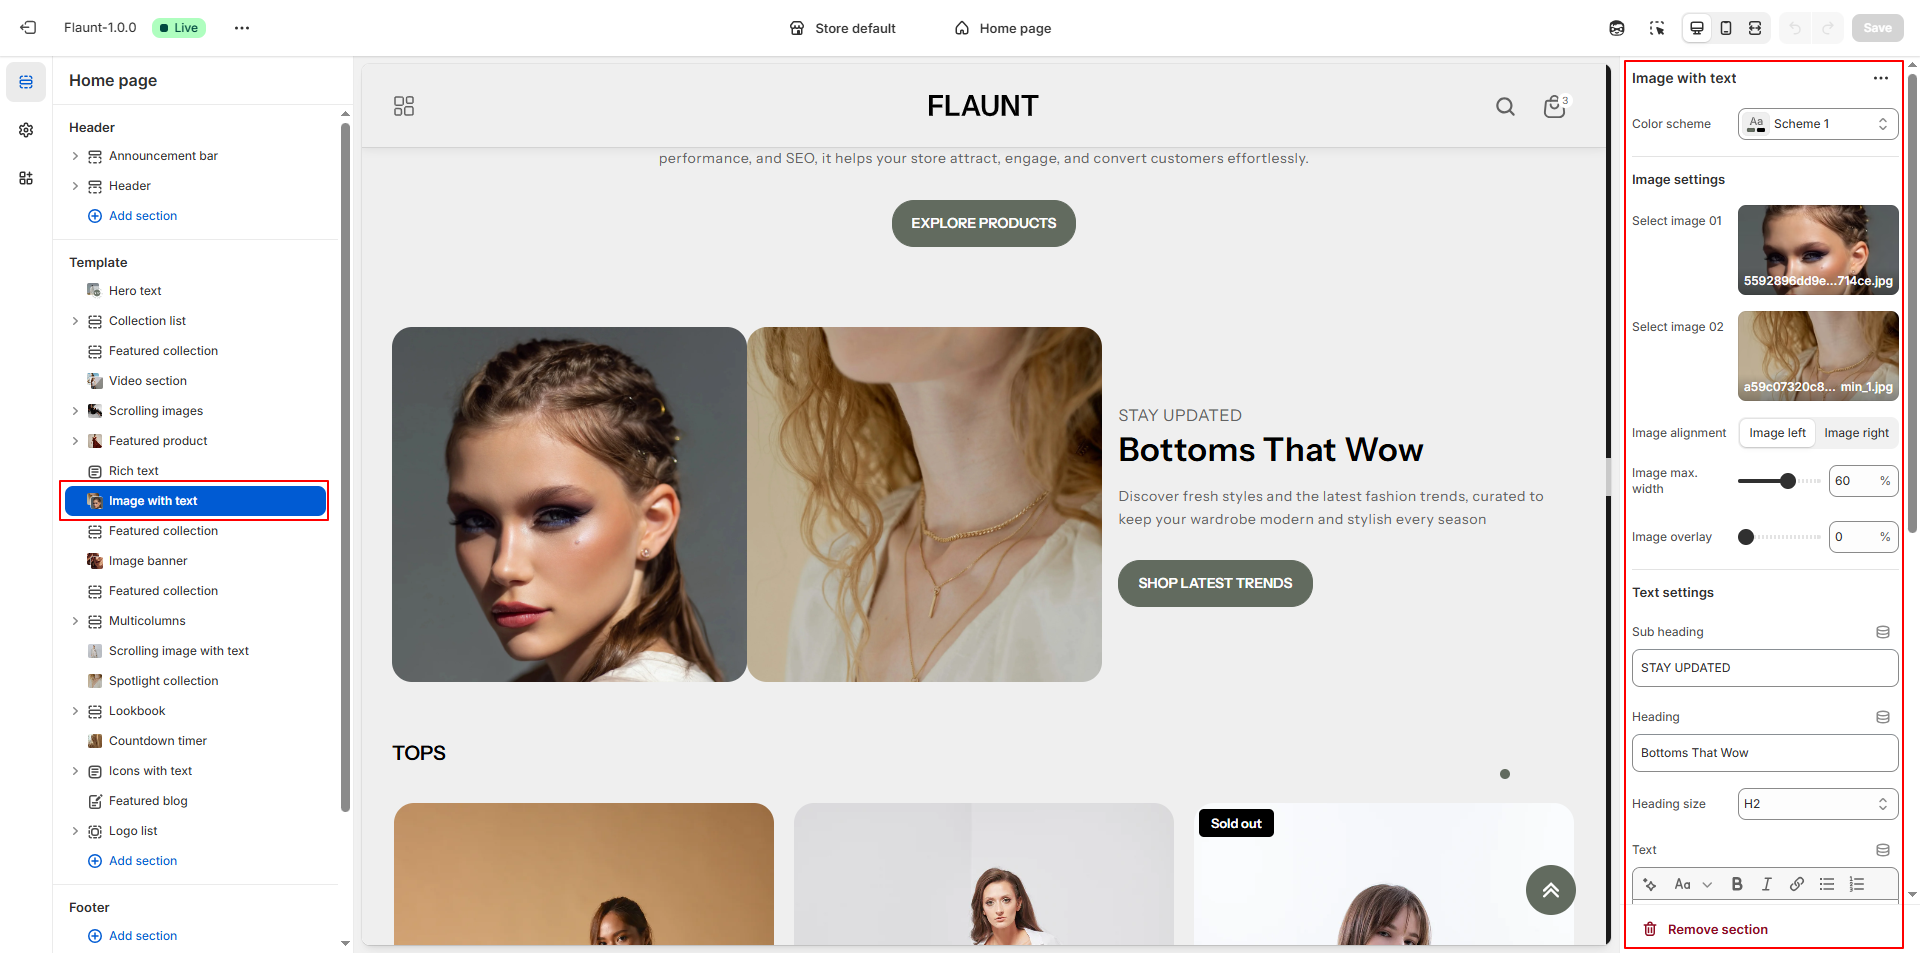
- Color Scheme: Choose a color scheme to set the overall look of the Countdown Timer, including background and text colors.
-
Select Image:
- Upload a custom image to use as the background.
- If no image is uploaded, the section will display a blank or default background.
-
Aspect Ratio: Choose how banner images should be displayed in
both devices.
- Adapt to Image: Keeps the original proportions of the uploaded image.
- Square: Displays images in a uniform 1:1 layout for a clean, consistent grid.
- Portrait: Shows taller images, ideal for vertical photography.
- Image Overlay: Set the overlay transparency to improve text readability over the background image.
- Overlay Color: Choose the overlay color to match your theme styling.
- Overlay Direction: Choose the side from which the gradient overlay appears (Left or Right).
- Subheading: Add a short introductory line above the main heading.
- Heading: Enter the main promotional title for the countdown section.
- Heading Size: Select the heading style (e.g., H1) depending on how bold you want the text to appear.
- Text: Add supporting content such as promotional messages or sale details.
- Button Label & Link: Provide the button text and choose where it should direct customers.
- Content Max Width: Set the maximum width of the text area to control readability and design layout.
- Content Position: Choose where the text and timer should appear (e.g., Bottom Right).
-
Text Alignment: Set how the main text should be positioned.
- Left: Aligns the text to the left side.
- Center: Places the text in the center for a balanced look.
- Right: Aligns the text to the right side.
-
Enter Countdown Date: Set the exact end date and time for your
timer using the required format:
Format: DD/MM/YYYY 00:00:00
Pro Tips:
Pair your countdown with a special discount or free
shipping offer to boost urgency
Use bold colors and a clear call-to-action button to
increase conversions.
What happens when the timer ends?
The behavior of the timer depends on your settings:
- If you've added End Text, it will replace the timer.
- If you've enabled the Hide Timer option after expiry, only the section content (excluding the timer) will remain visible.
- If no action is taken, the timer will stay displayed as 0:0:0:0.