
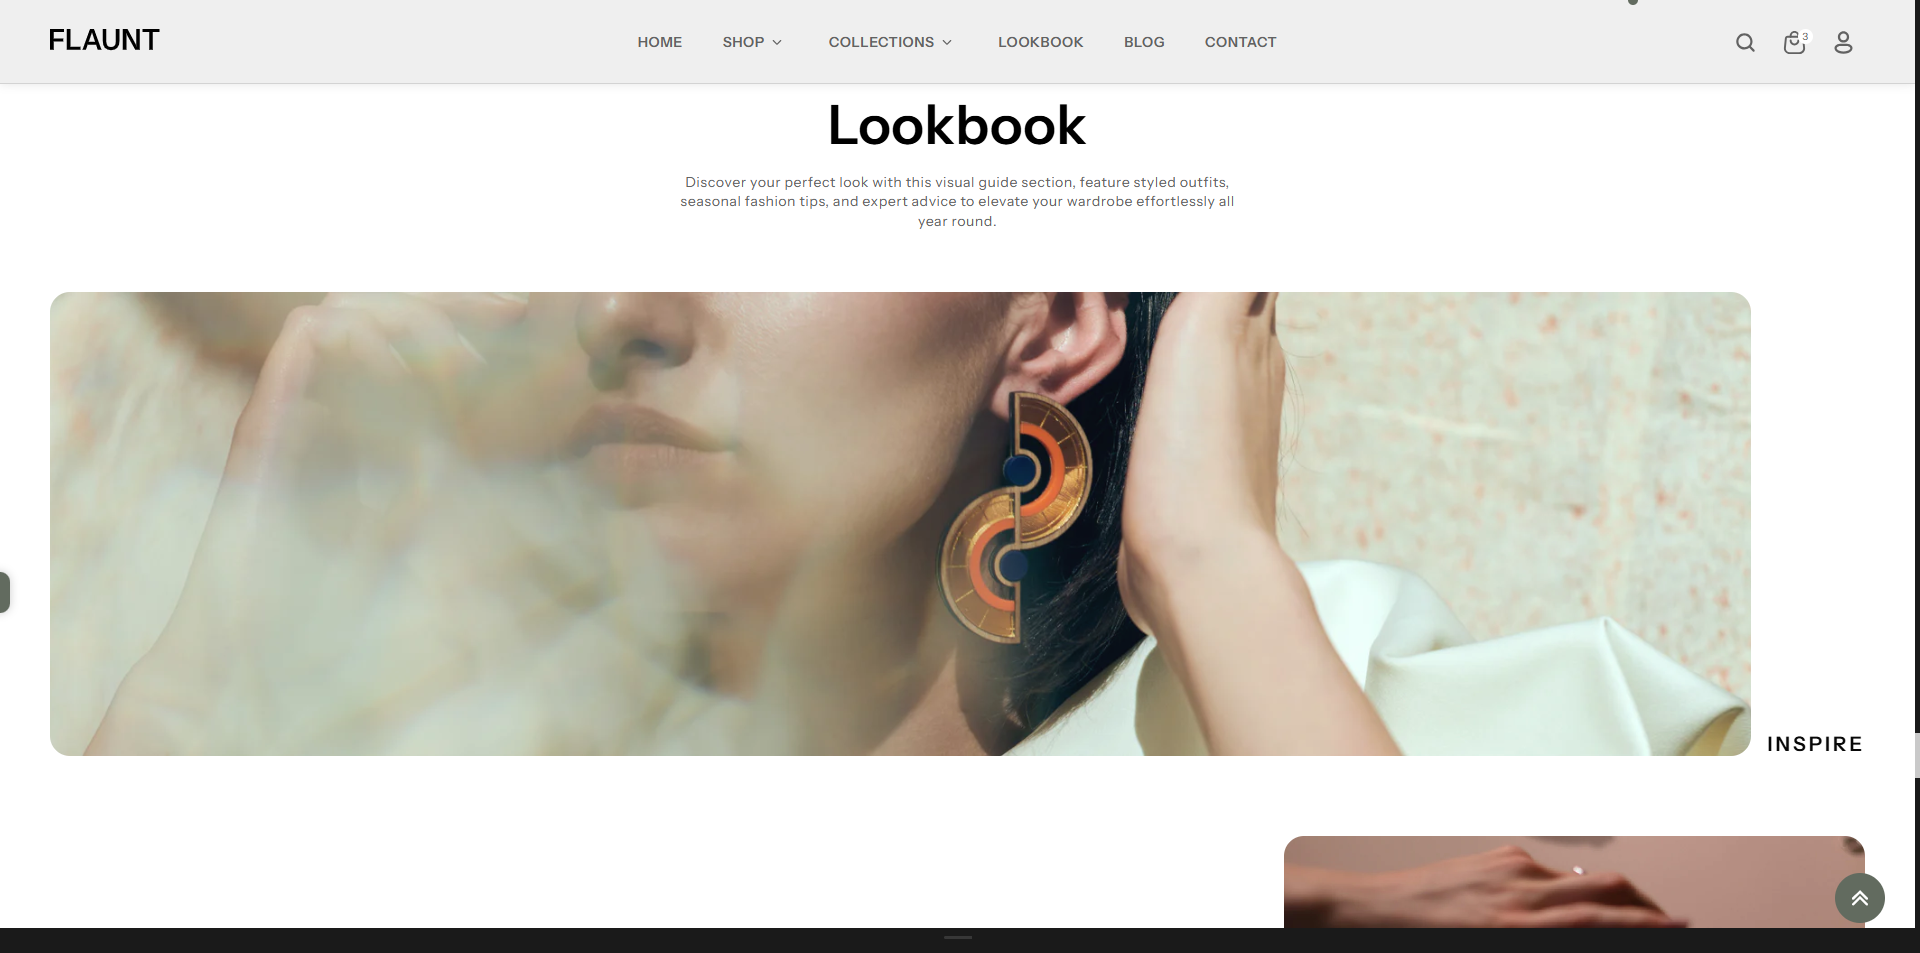
Lookbook
The Lookbook section creates a stylish, animated storytelling experience using a smooth sticky scroll effect. As customers scroll, images and text transition beautifully, offering a magazine-like visual journey. It’s perfect for showcasing brand stories, lifestyle imagery, campaigns, or creative visuals in an engaging and immersive way.
How to Add the Lookbook Section
The Lookbook section allows you to feature pages, collections, brands, or product collections on your homepage or other pages, helping customers explore categories quickly and easily. Follow the steps below to edit and customize it:
- From your Shopify admin, go to Online Store → Themes.
- Click Customize on the Flaunt theme.
- In the Theme Editor, use the drop-down selector to choose the page where you want to add or edit the Lookbook section.
- Click Add Section (or select an existing Lookbook section if already added).
- Click Save to apply your changes.
How To Edit the Lookbookn section
Here are the steps to configure the options mentioned for the Lookbook section in your Flaunt Shopify theme:
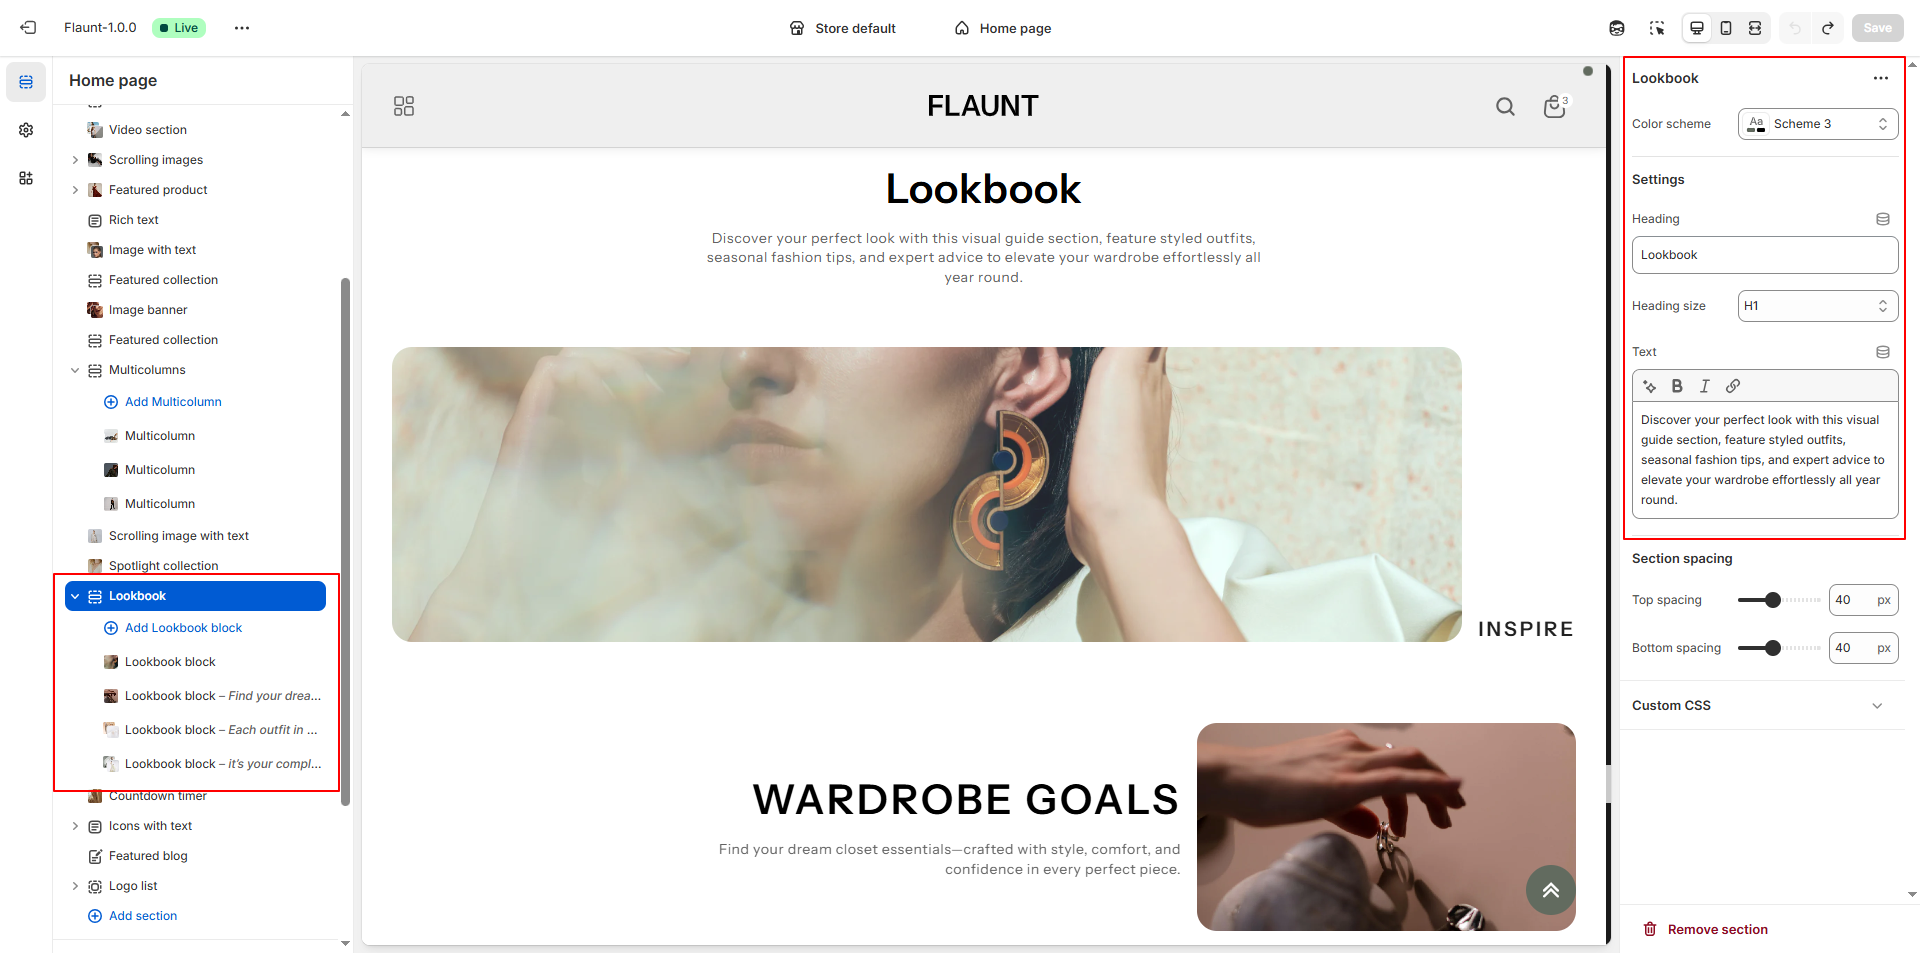
- Color Scheme: Choose a color scheme (e.g., Scheme 4) to define the banner’s background, text color, and overall visual tone.
- Heading: Enter the primary title to create a strong visual impact.
-
Heading Size: Select the heading style.
- H1: Large and bold, ideal for hero banners.
- H2/H3: (If available) Smaller options for subtle layouts.
- Text: Add descriptive content to explain the promotion, collection, or message showcased in the banner.
Configure the Lookbook Block Settings
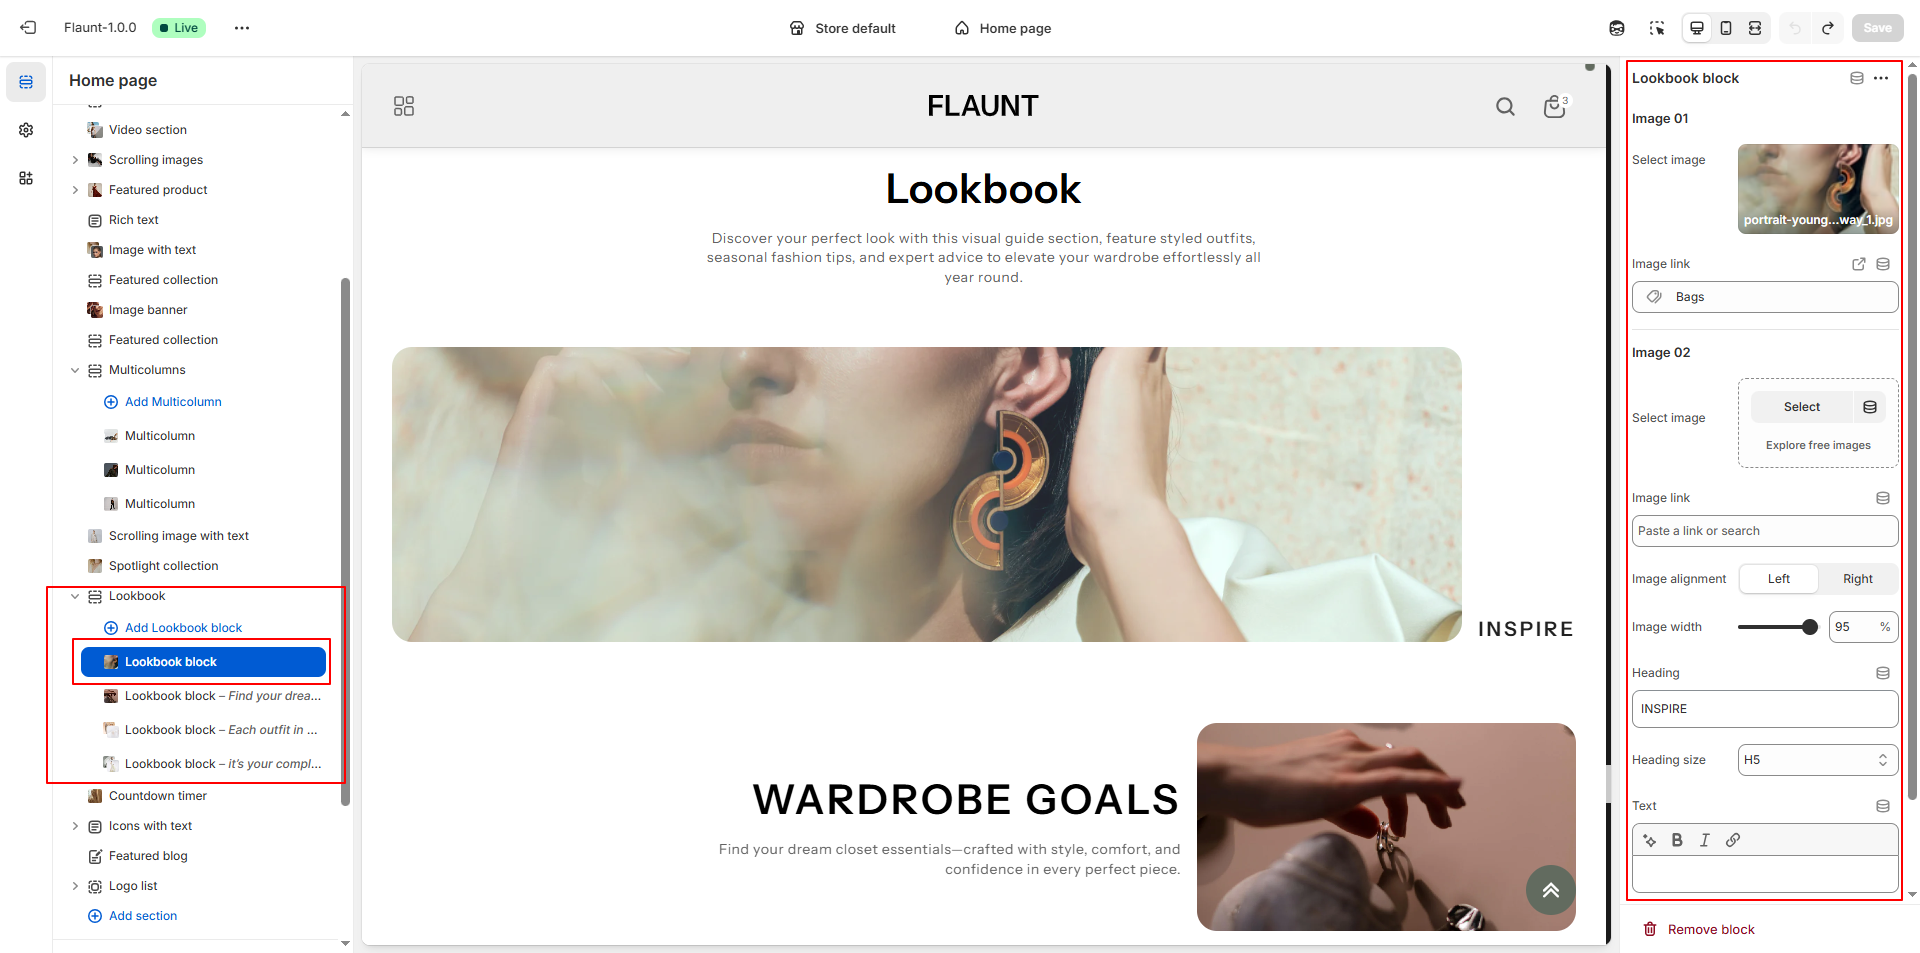
- Adding a New Block: Click the Add Lookbook Block button to create a new block within the Lookbook List section.
-
Select Image 01:
- Click Upload images to add the first lookbook image from your computer.
- Or choose Explore free images to browse Shopify’s free image library.
- Image Link (01): Enter a link that the first image should direct customers to (e.g., a collection or page like “Bags”).
-
Select Image 02:
- Upload the second image by clicking Upload images.
- Or choose from Explore free images if you prefer stock images.
- This optional second image helps create a dynamic, magazine-style layout.
- Image Link (02): Add a link for the second image, if needed.
- Image Alignment: Choose whether the images appear on the **Left** or **Right** side of the section layout.
- Image Width: Adjust the maximum width of the images (e.g., 95) to control how large they appear within the layout.
- Heading: Add a title for the block (e.g., “INSPIRE”) to introduce the visual story.
- Heading Size: Choose the size of your heading (e.g., H5) to match your design style.
- Text: Add descriptive or storytelling content to accompany the lookbook images.
-
Text Position: Set where the text should appear relative to
the images.
- Top: Displays the text above the images.
- Center: Aligns the text vertically in the middle.
- Bottom: Positions the text below the images.
-
Text Alignment: Choose how the text should be aligned
within the block:
- Left: Aligns text to the left side.
- Center: Centers the text for a balanced look.
- Right: Aligns text to the right side.
- Removing a Block: Select an existing Lookbook block and click the Remove Block button to delete it.