
Flaunt Theme Settings
Flaunt gives you complete creative control with a wide range of customization options—no coding required. Designed for ease of use, the theme lets you tailor colors, fonts, layouts, and more directly from Shopify’s intuitive theme editor, so your store always reflects your brand’s unique style.
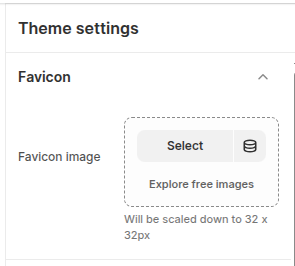
1. Favicon
A favicon is the small icon displayed in a browser tab next to your store’s title. Adding a custom favicon strengthens your brand identity and makes your store easily recognizable across browser tabs and bookmarks.
How to Add a Favicon
- From your Shopify admin, go to Online Store → Themes.
- Click Customize on the Flaunt theme.
- In the Theme Editor, open Theme Settings (bottom-left corner).
- Select the Favicon option.
- Upload your favicon image using the image selector.
- Recommended size: 32 × 32 pixels
- File size: Keep the file lightweight for faster loading
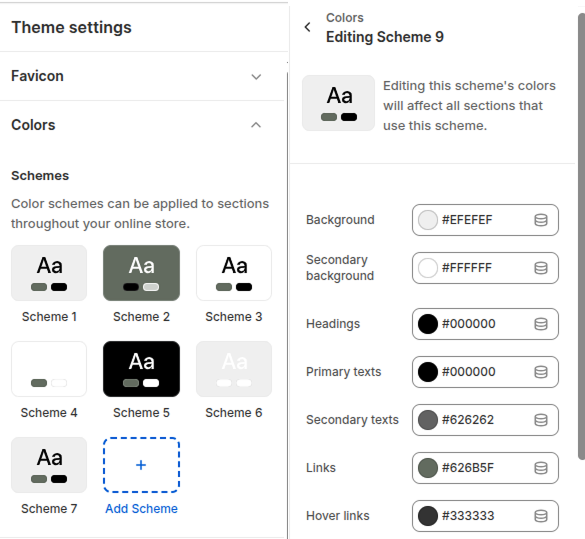
2. Colors
The Flaunt theme comes with a flexible color system built around color schemes. Each scheme includes grouped color roles that are applied consistently across your store’s sections and components. You can create multiple schemes and assign them to different sections or blocks for a cohesive look.
What is a Color Scheme?
A color scheme is a saved set of colors you define once and reuse across your theme. Instead of customizing colors individually for every section, you simply apply a scheme. This automatically controls the section’s background, text, buttons, and other design elements. Learn more about the Shopify theme color scheme, click here
- From your Shopify admin, go to Online Store → Themes.
- Click Customize on the Flaunt theme.
- In the Theme Editor, open Theme Settings (bottom-left corner).
- Select the Color option.
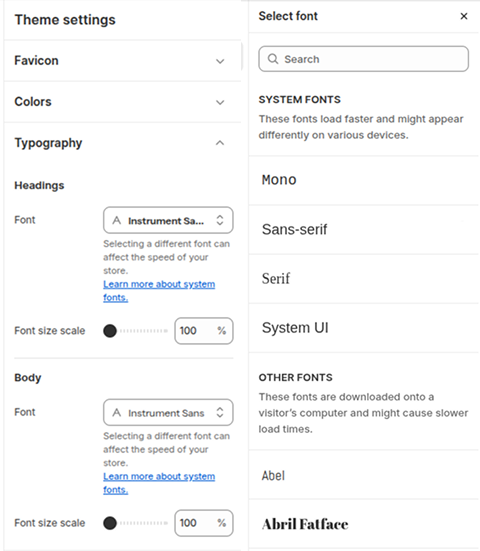
3. Typography
The Flaunt theme gives you full control over your store’s font styling. You can set separate fonts for headings and body text to create a clean, consistent look that matches your brand. Choose from Shopify’s free Google Fonts library and instantly apply your selections across the entire theme for a modern, professional appearance.
- From your Shopify admin, go to Online Store → Themes.
- Click Customize on the Flaunt theme.
- In the Theme Editor, open Theme Settings (bottom-left corner).
- Select the Typography option.
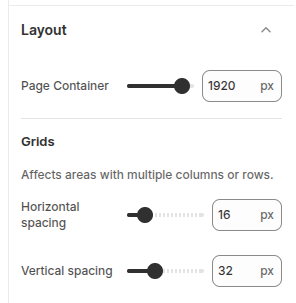
4. Layout
The Flaunt theme includes flexible layout settings that control the overall structure of your store. You can manage page width, grid spacing, and section alignment to ensure a clean and balanced design across all devices.
Layout Options
- Page Container: Sets the maximum content width.
- Grids: Controls the arrangement of sections with multiple columns or rows.
- Horizontal Spacing: Defines space between elements side-by-side.
- Vertical Spacing: Defines space between stacked elements.
-
Enable Banner Overlay: Turn this on to overlap the header on top of the
first section.
Note: This setting works only on the homepage. -
Select Overlay Logo: Upload a custom logo to display when the banner
overlay is enabled.
- Click Upload images to add a logo from your device.
- If no logo is selected, the default header logo will be used.
- Color Scheme for Banner Overlay: Choose a color scheme to control the text and background styling of the overlay header.
- Sticky Overlay Header Color: Set the background color (hex code) for the sticky overlay header when it remains fixed during scrolling.
How to Adjust Layout
- From your Shopify admin, go to Online Store → Themes.
- Click Customize on the Flaunt theme.
- In the Theme Editor, open Theme Settings.
- Select Layout to access container width, grid, and spacing options.
- Adjust values as needed and click Save.
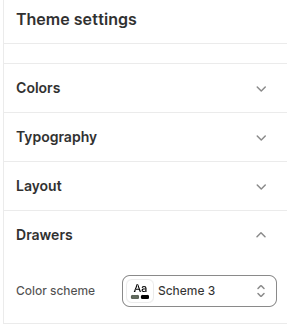
5. Drawers
In the Flaunt theme, drawers (such as the cart drawer, quick view drawer, and menu drawer) use a unified color scheme to maintain visual consistency across your store. You can customize the background, text, buttons, and borders within these drawers directly from the Theme Settings, ensuring a seamless look that matches your brand.
How to Change Typography
- From your Shopify admin, go to Online Store → Themes.
- Click Customize on the Flaunt theme.
- In the Theme Editor, open Theme Settings (bottom-left corner).
- Select the Typography option.
- Choose your desired fonts for headings and body text from the available options.
- Click Save to apply your changes across the store.
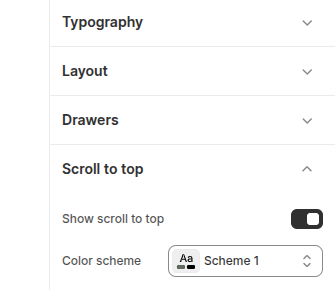
6. Scroll to top
The Scroll to Top button in the Flaunt theme allows customers to quickly return to the top of the page with a single click. It improves navigation and user experience, especially on long product or collection pages. You can also customize its color scheme to match your brand.
How to Enable & Customize Scroll to Top
- From your Shopify admin, go to Online Store → Themes.
- Click Customize on the Flaunt theme.
- In the Theme Editor, open Theme Settings.
- Select Scroll to Top from the options.
- Enable the feature by toggling it on.
- Choose a Color Scheme (e.g., Scheme 1) to style the button.
- Click Save to apply your changes.
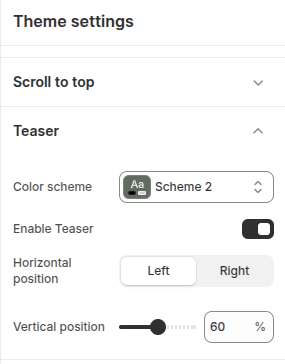
7. Teaser
The Teaser feature in the Flaunt theme lets you display a small, attention-grabbing message or promotion on your store. It can be positioned horizontally (left or right) and vertically to suit your design. You can also apply a color scheme (e.g., Scheme 2) to match your brand style.

How to Enable & Customize Teaser
- From your Shopify admin, go to Online Store → Themes.
- Click Customize on the Flaunt theme.
- In the Theme Editor, open Theme Settings.
- Select Teaser from the options.
- Enable the feature by toggling Enable Teaser on.
- Choose a Color Scheme (e.g., Scheme 2).
- Set the Horizontal Position (Left or Right).
- Set the Vertical Position as needed.
- Click Save to apply changes.
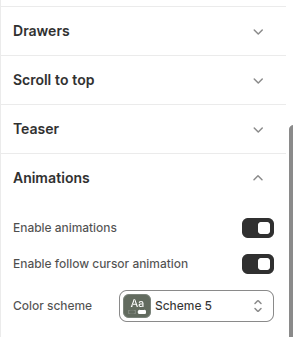
8. Animations
The Animations settings in the Flaunt theme let you add engaging visual effects to your store. You can enable general animations for smooth section transitions and activate a follow cursor animation for interactive movement. A customizable color scheme ensures the animations match your brand style.
How to Enable Animations
- From your Shopify admin, go to Online Store → Themes.
- Click Customize on the Flaunt theme.
- In the Theme Editor, open Theme Settings.
- Select Animations from the options.
- Toggle Enable Animations to activate section effects.
- Toggle Enable Follow Cursor Animation for interactive movement.
- Choose a Color Scheme to style the animation.
- Click Save to apply your changes.
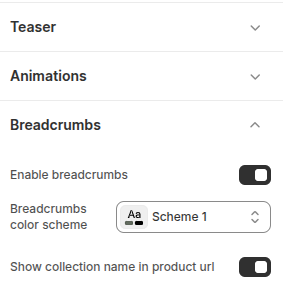
9. Breadcrumbs
The Breadcrumbs feature in the Flaunt theme improves store navigation by showing customers their current location and path within your site. You can enable breadcrumbs across pages, customize their color scheme, and choose to display the collection name in product URLs for clearer navigation and SEO benefits.
How to Enable & Customize Breadcrumbs
- From your Shopify admin, go to Online Store → Themes.
- Click Customize on the Flaunt theme.
- In the Theme Editor, open Theme Settings.
- Select Breadcrumbs from the options.
- Toggle Enable Breadcrumbs to activate them on your store.
- Choose a Color Scheme (e.g., Scheme 1).
- Optional: Toggle Show Collection Name in Product URL for better navigation.
- Click Save to apply your changes.
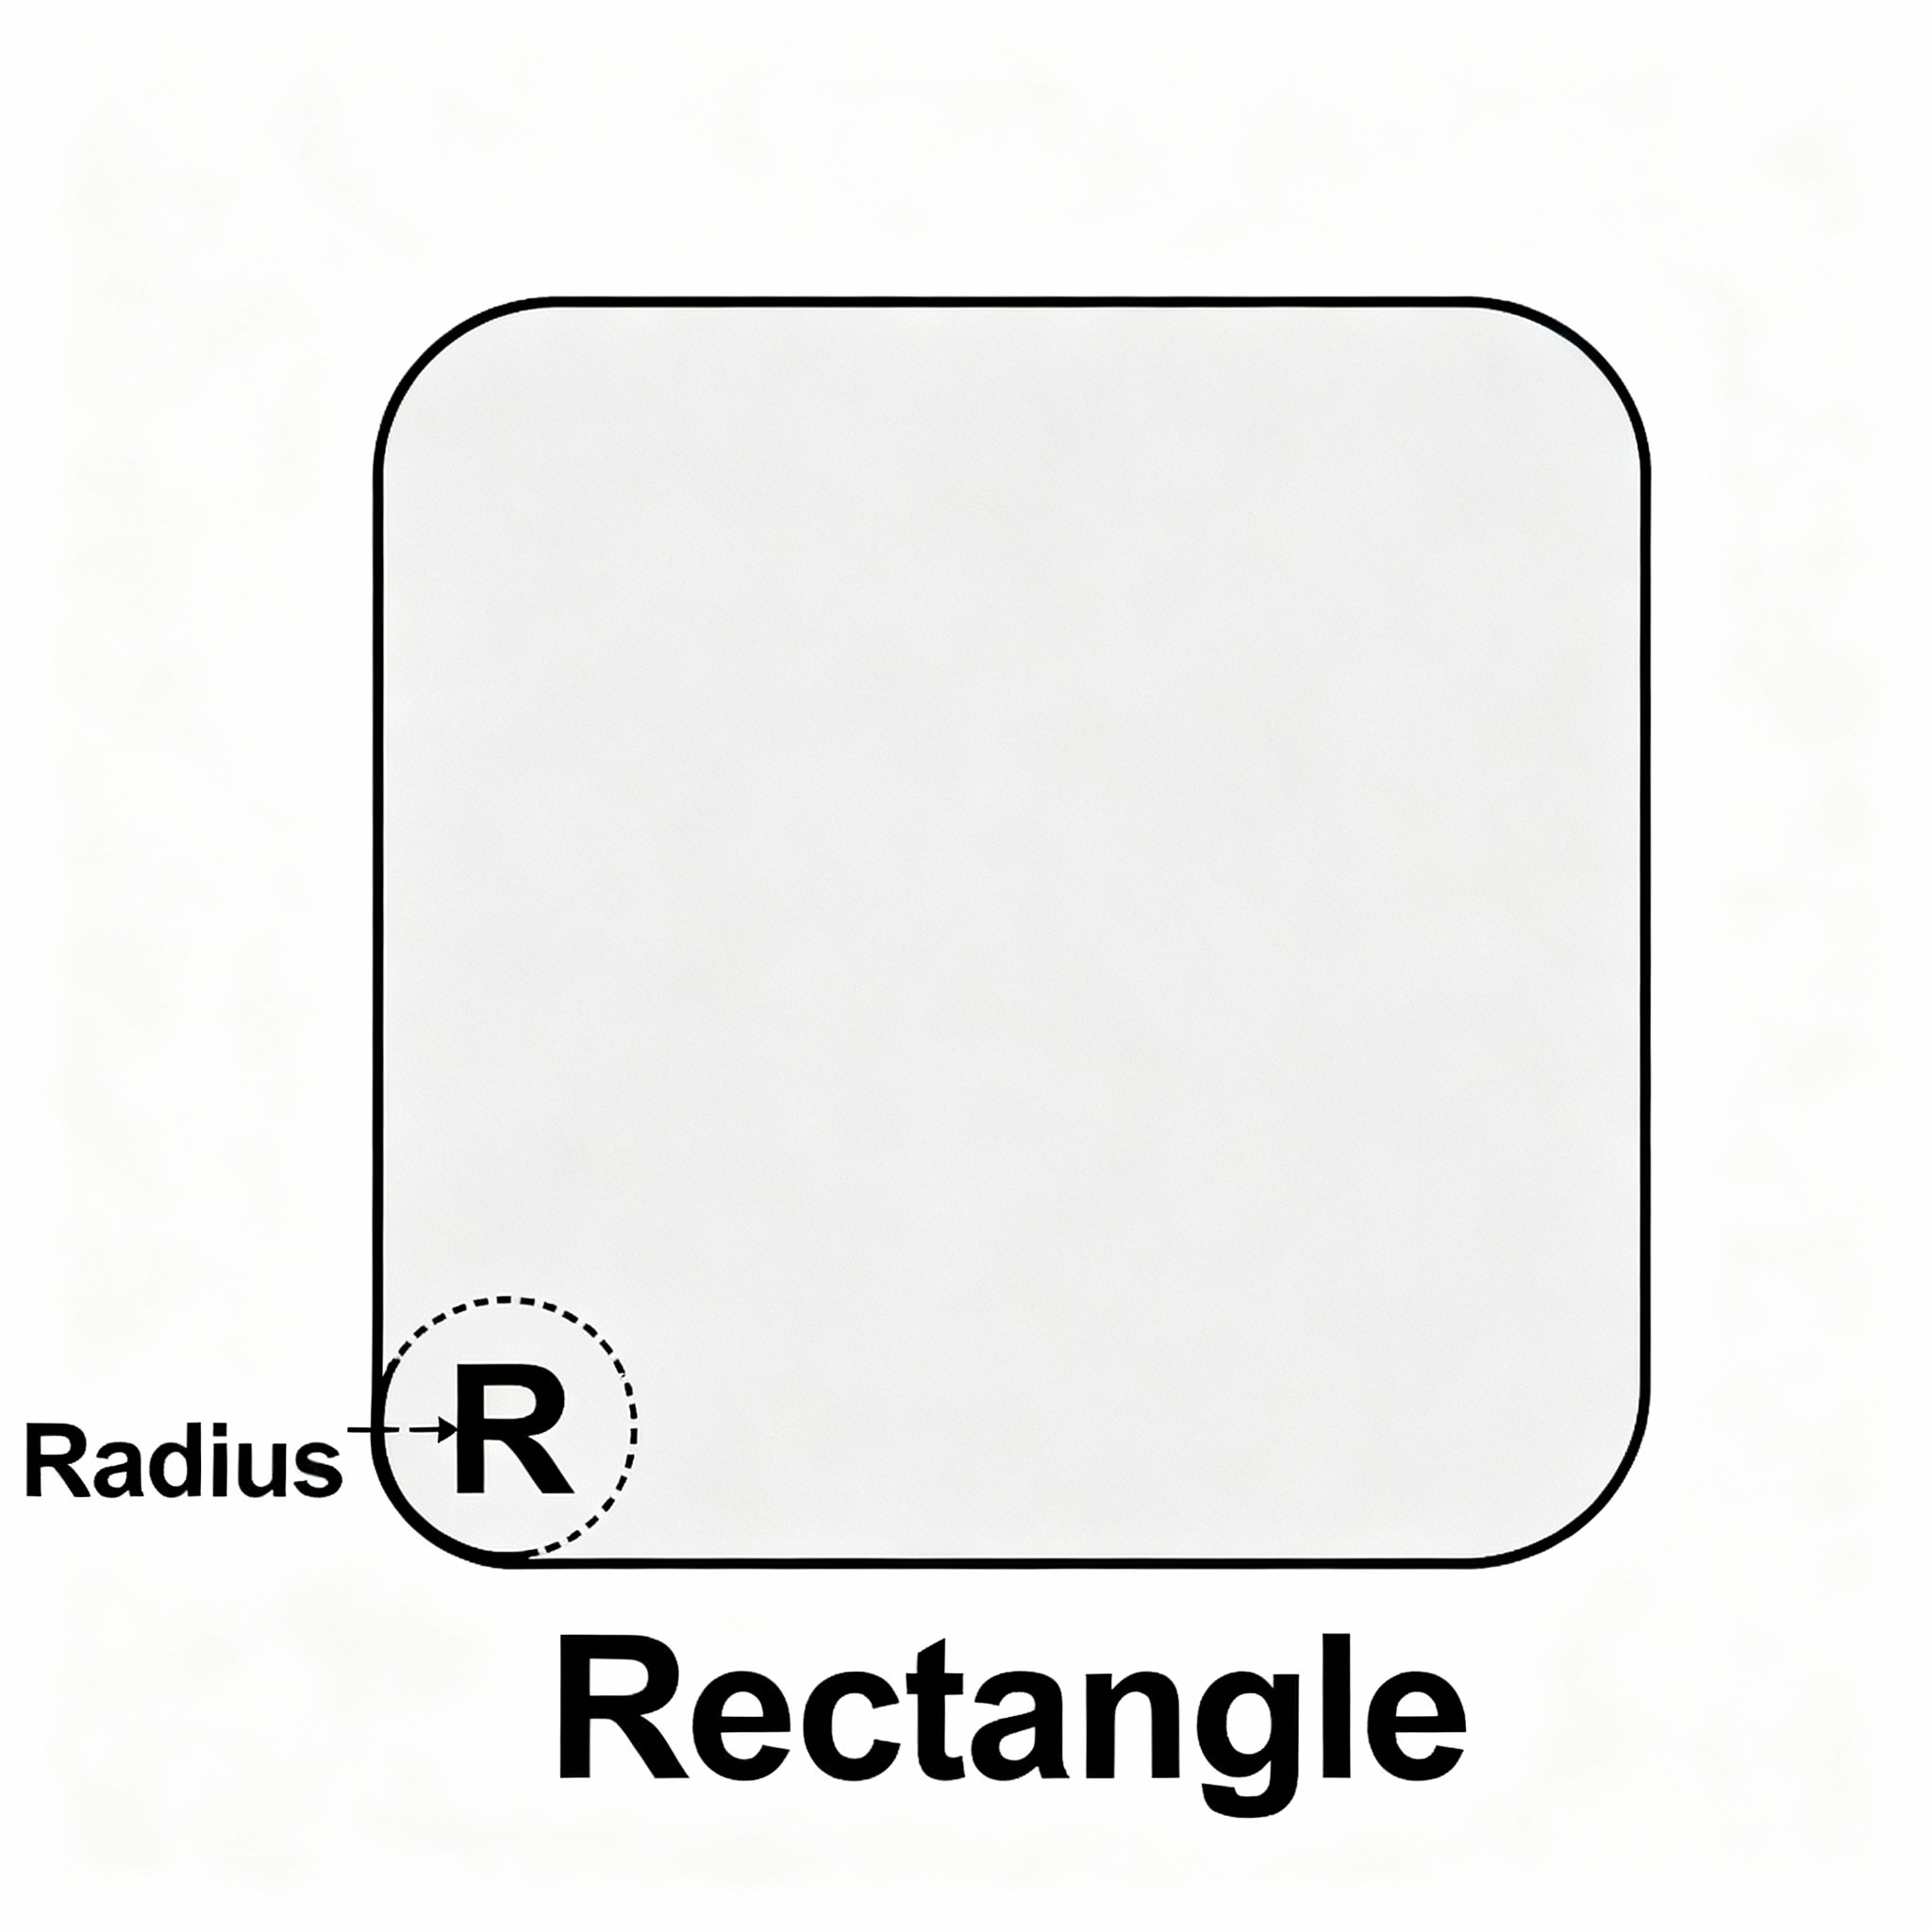
10. Border Radius
The Flaunt theme allows you to control the roundness of corners for various elements through border radius settings. Adjusting these values helps create a soft, modern look that aligns with your store’s design style.
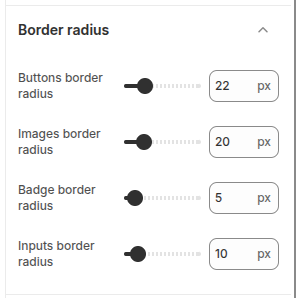
Default Border Radius Values
- From your Shopify admin, go to Online Store → Themes.
- Click Customize on the Flaunt theme.
- In the Theme Editor, open Theme Settings.
- Select Border Radius or the relevant section for buttons, images, badges, or inputs.
- Adjust the pixel values as desired to achieve your preferred rounded look.
- Click Save to apply the changes store-wide.
11. Social media
The Flaunt theme allows you to connect your store with various social media platforms, making it easy for visitors to follow and engage with your brand. Social media links appear throughout the theme, including the header, footer, and dedicated social icon sections.
How to Update Social Links
- From your Shopify admin, go to Online Store → Themes.
- Click Customize on the Flaunt theme.
- In the Theme Editor, open Theme Settings → Social Media.
- Paste the URLs of your social media accounts in the input fields next to each platform.
- Click Save to apply your changes.
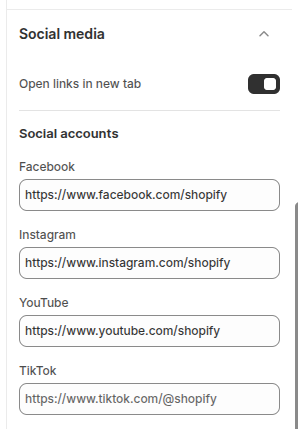
Once added, your social icons will automatically display on your storefront, making it simple for customers to connect with your brand on platforms like Instagram, Facebook, Twitter, and more.
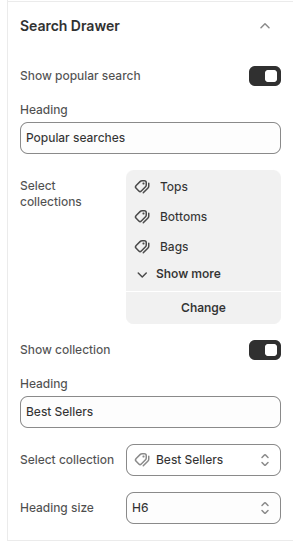
12. Search Drawer
The Flaunt theme includes a Search Drawer that appears when customers click the search icon. You can highlight popular searches and featured collections directly in the drawer, helping users find trending products and best-selling items quickly without navigating away from the page.
Popular Searches
- Heading: Set the title for the popular searches section (e.g., "Popular Searches").
- Select Collections: Choose which collections to pull popular items from (e.g., Tops, Bottoms, Bags).
Show Collection / Best Sellers
- Heading: Set the title for the featured collection section (e.g., "Best Sellers").
- Select Collection: Pick a collection to showcase.
- Heading Size: Adjust the font size for the section heading within the search drawer.
How to Configure the Search Drawer
- From your Shopify admin, go to Online Store → Themes.
- Click Customize on the Flaunt theme.
- In the Theme Editor, navigate to the Search Drawer section.
- Set the headings, select collections, and adjust heading sizes as needed.
- Click Save to apply your changes.
12. How to Enable Gift Wrapping
Gift Wrapping allows customers to add a beautifully wrapped option to their order for special occasions such as birthdays, anniversaries, and holidays. This feature offers a personalized touch and can also create an additional revenue stream for your store.
- Create a Gift Wrap Product:
- Go to Shopify Admin → Products → Add Product.
- Create a product named “Gift Wrapping” (the URL handle should be "gift-wrapping").
- Set the price you want to charge for the gift-wrapping service.
- Set the product visibility so it does not appear in your main store collections, ensuring it only appears as an option in the cart.
- Click Save to apply your changes.