
Footer
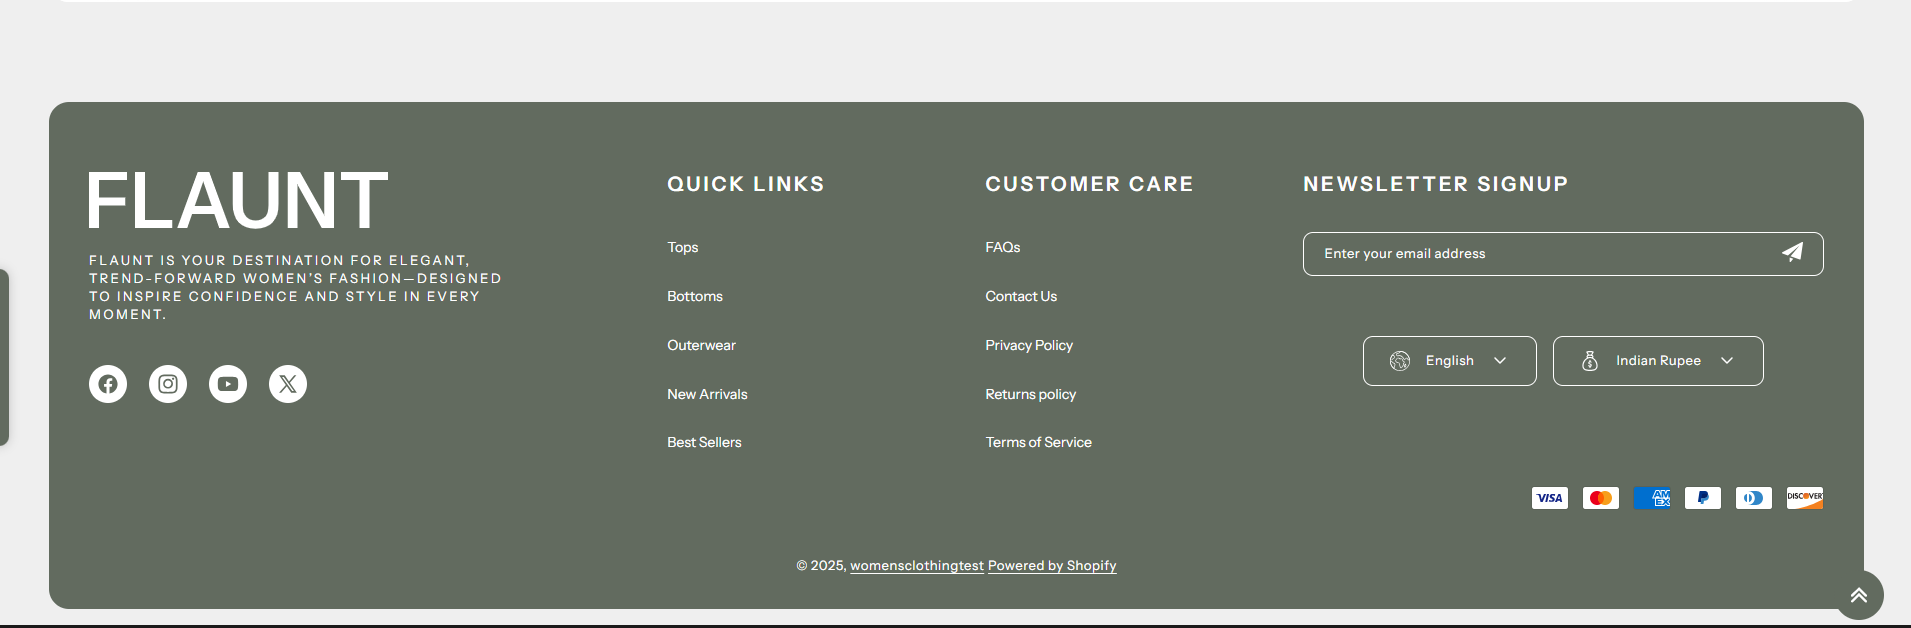
The Footer in the Flaunt theme provides a consistent space at the bottom of every page for navigation, branding, social links, and optional features like a newsletter signup, localization selectors, and trust icons. It helps improve accessibility, build trust, and keep important information easily available to customers.
How to Configure the Footer
- From your Shopify admin, go to Online Store → Themes.
- Click Customize on the Flaunt theme.
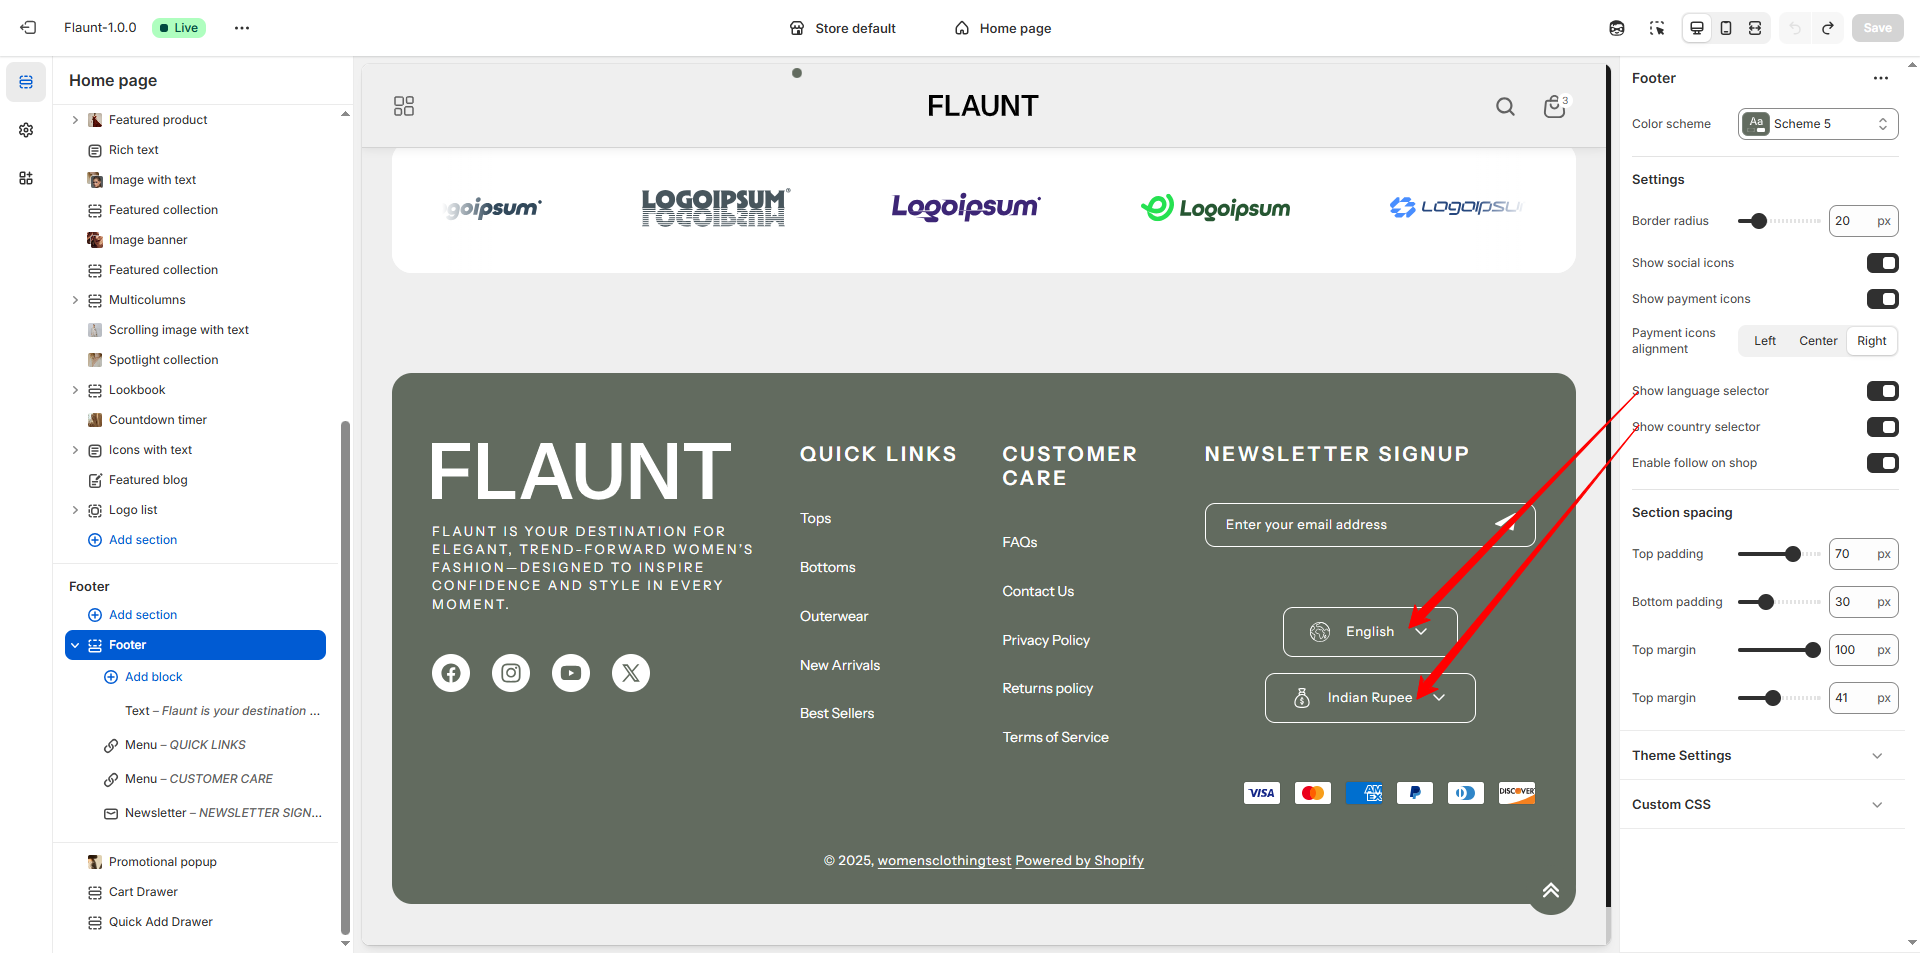
- In the Theme Editor, select the Footer section from the left sidebar.
- Adjust the settings, blocks, and layout options according to your preferences.
- Click Save to apply your changes.
How to Configure the Footer Settings
- Color Scheme: Choose a background and text color scheme for the footer.
- Show Border: Enable or disable a top border for the footer.
- Logo: Upload a logo image and set the desired width.
- Menus: Assign navigation menus to display important links.
- Social Media Icons: Display icons linked to your accounts (set up in Theme Settings → Social Media).
- Newsletter Signup: Add a subscription form for customer email signups.
- Localization Selectors: Show language and currency options if enabled in store settings.
- Trust Icons: Display payment/security icons to increase credibility.
- Custom Text: Add additional text such as contact details, policies, or store tagline.

Configure a block within a Footer section
To configure an existing block, select the block from the side menu.
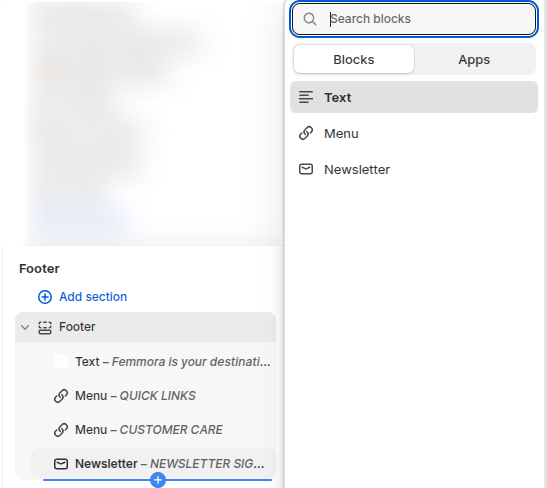
To add a new block, select Add block, choose a block to add, and then select the block you added.
1. Text
- Block Max. Width: Set the maximum width for the block content.
- Image: Upload a custom image (e.g., logo or graphic) to display in the footer block.
- Image Width: Define the display width of the uploaded image.
- Text: Add descriptive text or brand messaging to the footer block.
- Text Transform: Choose how the text should appear (e.g., uppercase, lowercase, capitalize).
2. Menu
- Block Max. Width: Set the maximum width for the block content.
- Heading: Enter the main heading for the text block.
- Select Menu Select a navigation menu to show as a list of links.
3. Newsletter
- Block Max. Width: Set the maximum width for the block content.
- Image: Upload a custom image (e.g., logo or graphic) to display in the footer block.
- Image Width: Define the display width of the uploaded image.
- Text: Add descriptive text or brand messaging to the footer block.
- Text Transform: Choose how the text should appear (e.g., uppercase, lowercase, capitalize).
How to Enable the Payment Icons, Enable Follow on Shop and Enable Currency & Language Selector
Payment Icons
- Show accepted payment methods to reassure customers.
- In Theme Settings, locate the Footer section. Enable the Payment Icons option to display available payment methods in the footer.
- Go to Settings > Payments in your Shopify admin.
Enable Follow on Shop
- Make sure Shop Pay is enabled in your Shopify store settings.
- This allows customers to follow your store on the Shop app directly from your storefront.
- Read more about follow on shop
Enable Currency & Language Selector
-
Enable Currency & Language Selector:
Allow users to select their preferred currency and language, refer to the Shopify markets and Shopify languages support docs which will guide you through the process. -
For Currency Settings-
Navigate to Settings > Markets in your Shopify admin.
Add the desired countries or regions to your markets.
This will display a selector in the footer, allowing customers to choose their location. -
For language Settings-
Go to Settings > Languages in your Shopify admin.
Add the languages you wish to support.
Once added, the language selector will appear in the footer, enabling customers to choose their preferred language.
- Read more about countries/regions
FAQs
Can I customize my payment icons?
Unfortunately, no. Payment icons are automatically pulled from the Payment settings in your Shopify admin and cannot be manually adjusted.
Why aren’t my social media icons visible?
To display your social media icons, ensure they’re configured under Theme Settings > Social Media. Once added, they’ll appear in the Social Links block seamlessly.
How do I update the copyright message?
The copyright message can be edited through translations. Go to the Theme Editor, click the ... menu, and select Edit Default Theme Content to make your changes.