
Before After Slider
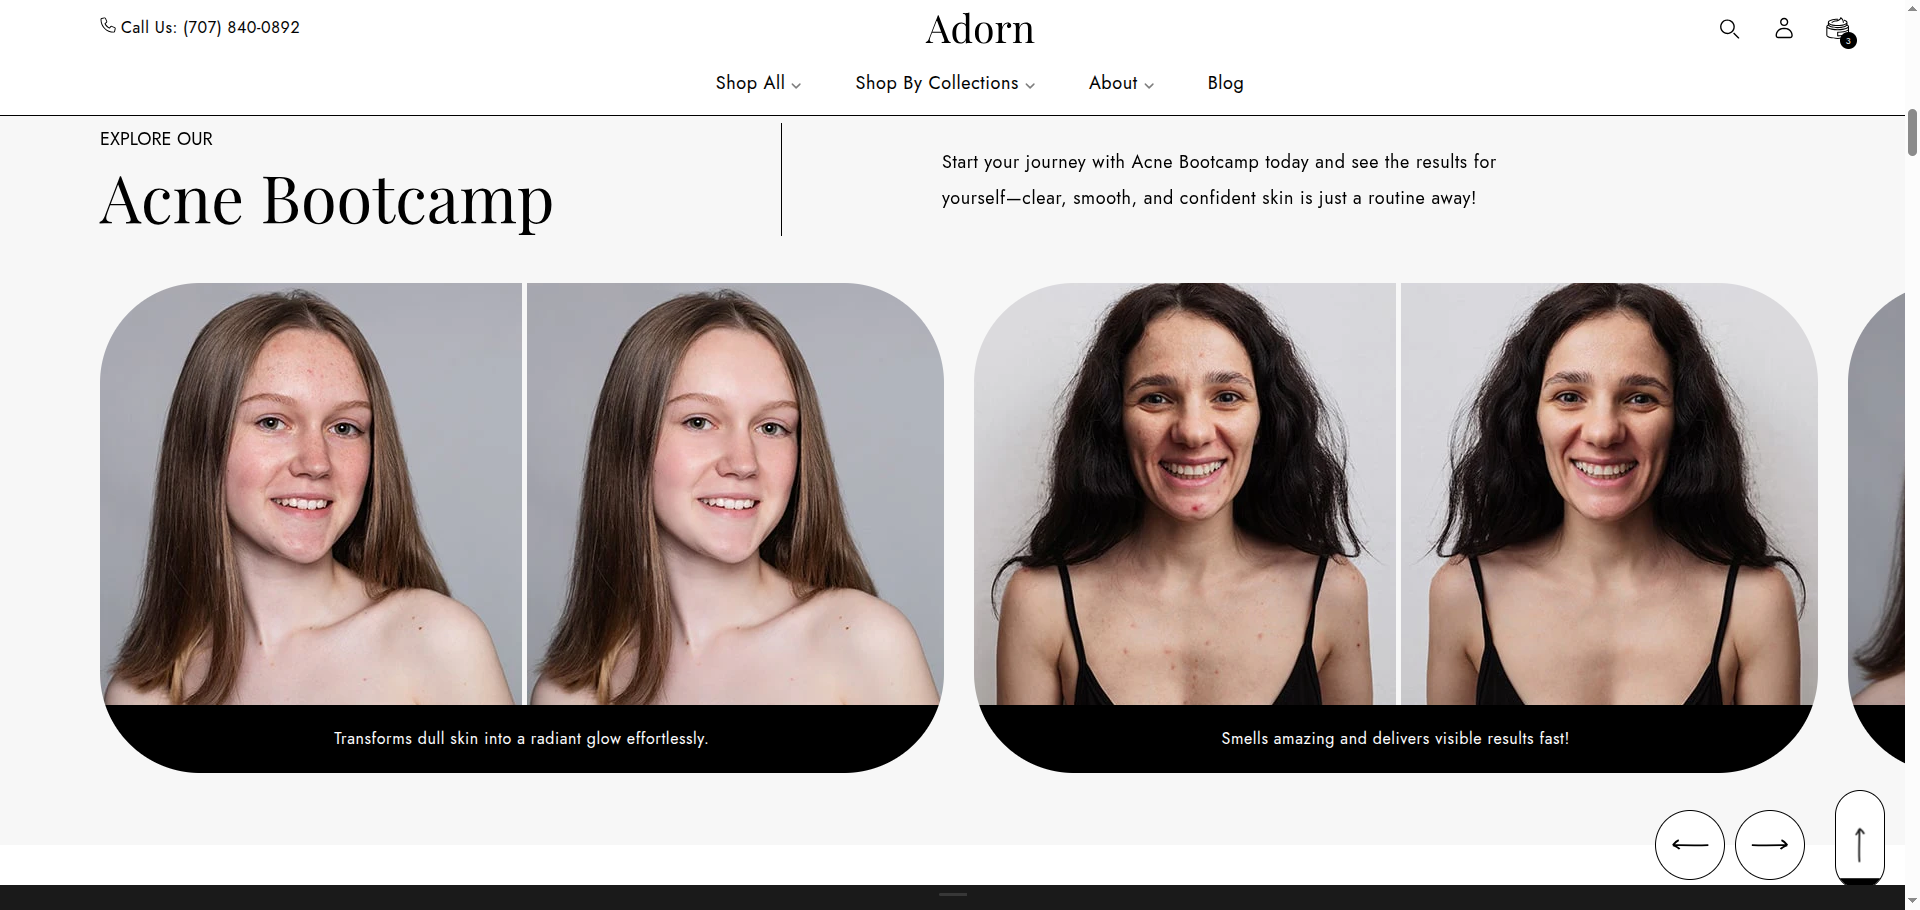
Use the Adorn Before After Slider section to visually showcase the benefits of your products. Visitors can interact with the images to explore and compare the effects and transformations, both before and after using your products, creating an engaging experience.
Adding the Before After Slider section
- Open the Customizer and go to the page where you want to add the "Before After Slider" section.
- On the left-hand side, you'll find a list of available sections. Click the "Add section" button.
- From the available options, choose "Before After Slider" to add it to your page.
How to edit the Before After Slider section
Steps for Configuring the "Before After Slider" Section in the Adorn Theme

1. Set Color Scheme
- Use the Section Background Color option to choose a background color for the entire section.
- Block Background Color: Set the color for the block containing text and controls.
- Block Text Color: Choose the text color for the block.
2. Add Text Content
- Sub Heading: Enter a short introductory phrase.
- Heading: Add a bold, attention-grabbing title.
- Text: Include a detailed description of the feature or offer.
3. Set Border Radius
- Desktop Border Radius: Specify the border radius for desktop displays.
- Mobile Border Radius: Specify the border radius for mobile displays.
4. Hide Arrows on Mobile
- Toggle the Hide arrows on mobile option to remove navigation arrows for a cleaner mobile view.
Configure a Before/After Block Settings
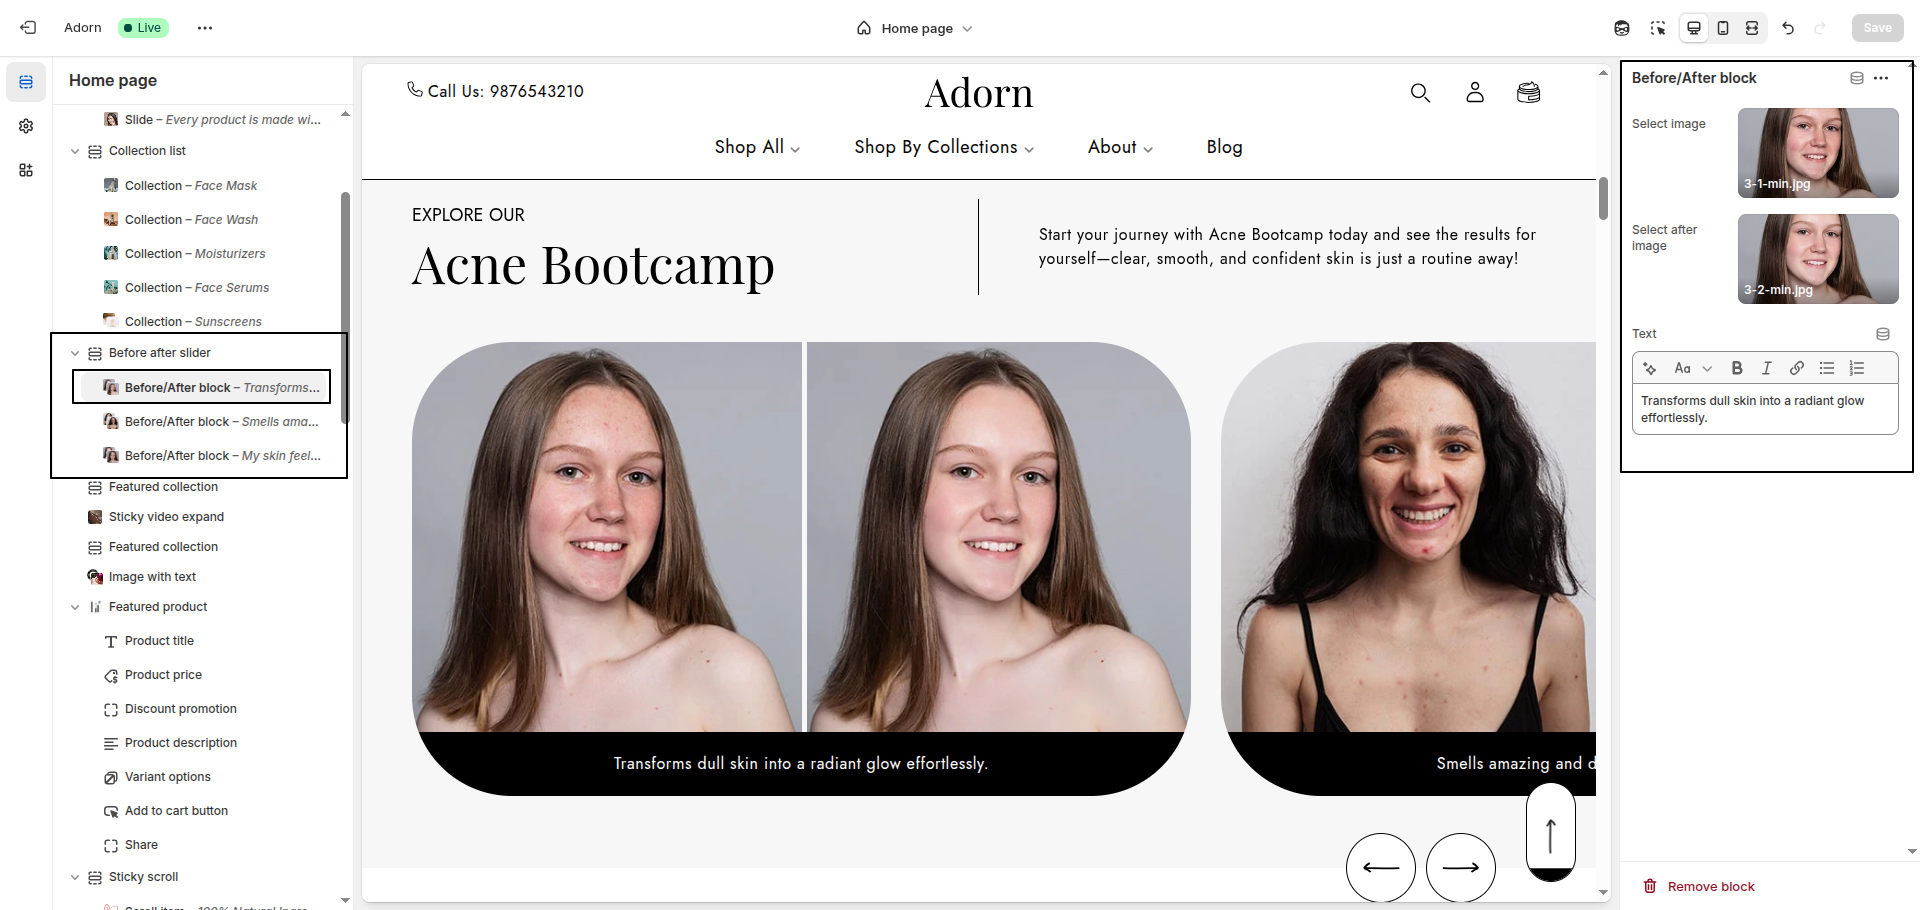
1. Add and remove New slide
- Adding a New slide: To add a new slide, simply click on the Add before/after block button to add a new slide.
- Removing a slide: Select an existing slide and click the Remove Block button to delete it.
2. Select Before and After Images
- Upload or select images for both the slide states to visually demonstrate the transformation.
3. Add Text Content
- Use the Text field to describe the transformation or highlight the changes.