Featured Blog
The Featured Blog section in your Adorn theme enables you to showcase the latest entries from a designated blog on your online store. This feature keeps your customers updated with your recent news, articles, and announcements. In this guide, we'll walk you through setting up and customizing the Blog Posts section to enhance your store's content.

Adding the Featured Blog section
- Open the Customizer and go to the page where you want to add the Featured Blog section.
- On the left-hand side, you'll find a list of available sections. Click the "Add section" button.
- From the available options, choose "Featured Blog" to add it to your page.
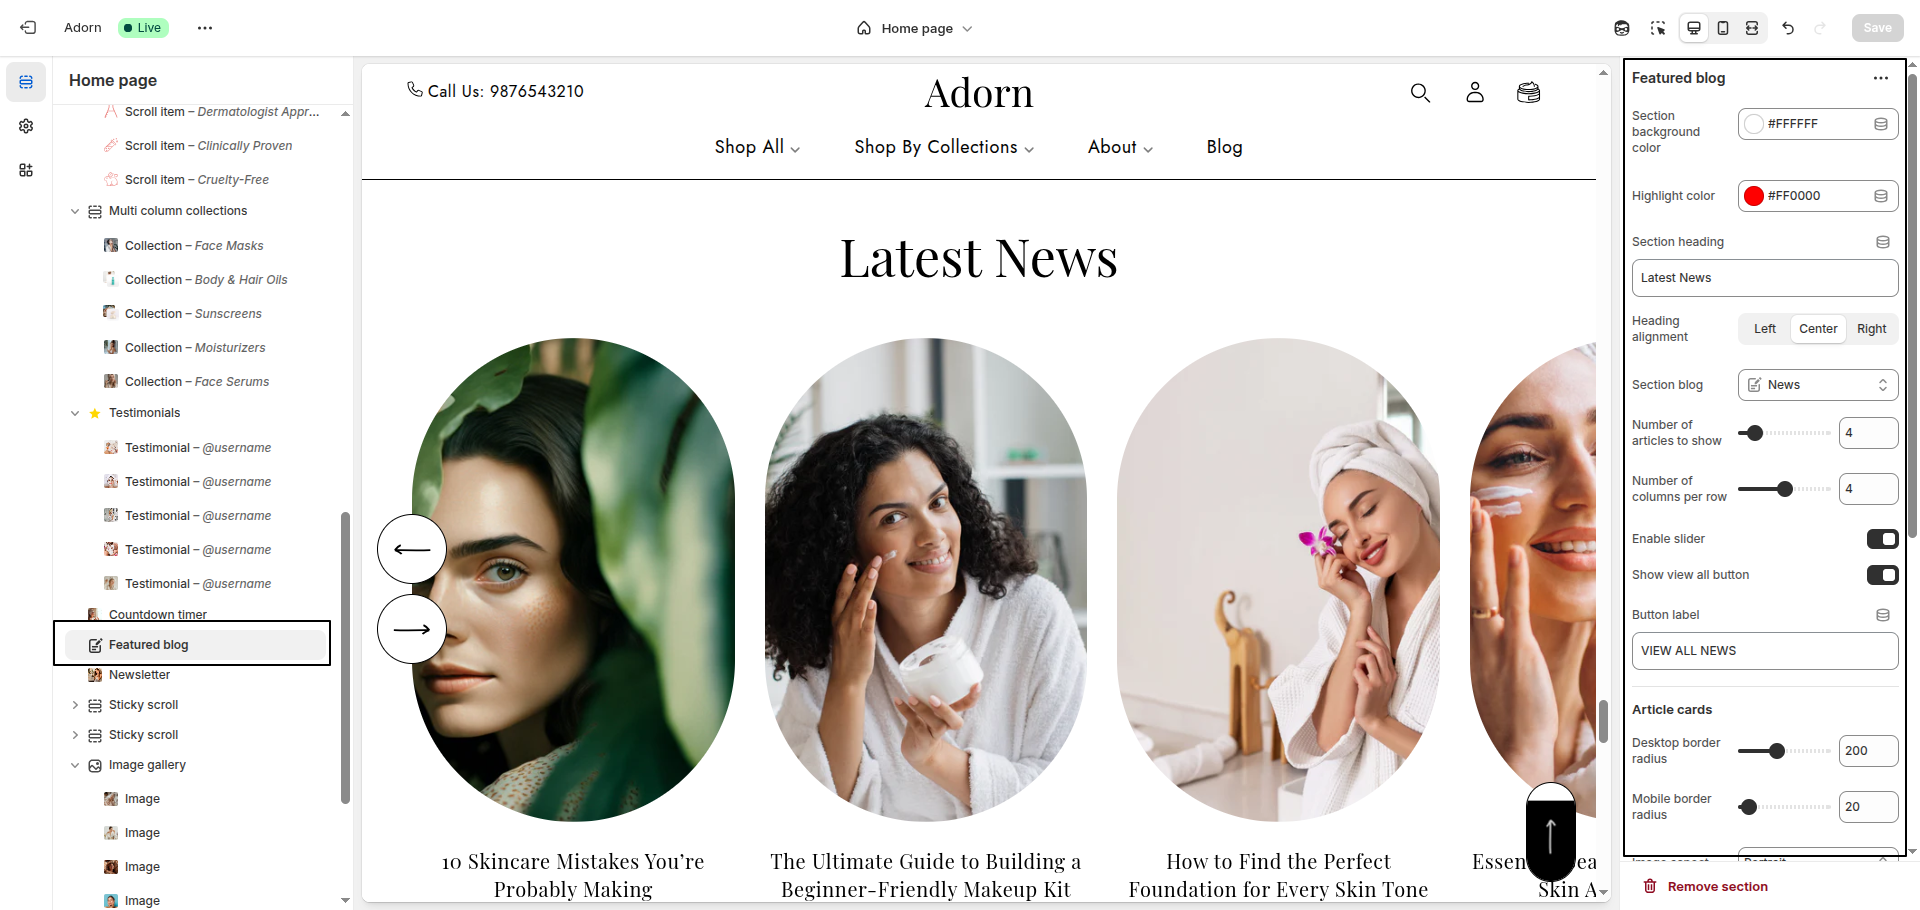
1. Set Section Background Color
- Use the Section Background Color setting to pick a color.
2. Customize the Section Heading
- In the Section Heading field, input your desired heading (e.g., Beauty Blogger & The Beast).
- Set the Heading Alignment to: Left, Center, or Right based on your preferred layout.
3. Select the Blog to Display
- Locate the Select Blog field. You will see a dropdown menu that allows you to select the blog you want to display posts from. Choose the appropriate blog from the list.
4. Choose Image Ratio
- Find the Image Ratio setting in the section settings.
- Select one of the following options:
-
- Adapt to Image: Maintains the original aspect ratio of the uploaded image.
- Portrait: Crops or resizes images to a vertical orientation.
- Square: Crops or resizes images into a 1:1 ratio.
5. Set Border Radius
- Desktop Border Radius: Specify the border radius for desktop displays.
- Mobile Border Radius: Specify the border radius for mobile displays.
6. Enable or Disable Blog Details
- Toggle the following options based on your preferences:
-
- Show Author: Display the author's name.
- Show Date: Display the post's publishing date.
- Show View All Button: Display a button that links to the full blog.
- Configure the Button Label (e.g., View All News) and Button Link (e.g., News).