General Theme settings
Setup general settings that apply to every pages of your store
1. Editing your theme
To personalize your theme, simply use the Shopify theme editor. This intuitive visual editor enables you to manage your content effortlessly—no coding required! You can easily add, reorder, or remove sections and blocks to create the perfect layout for your store.
To open the theme editor:
- Go to the Shopify admin panel.
- Click on Themes:
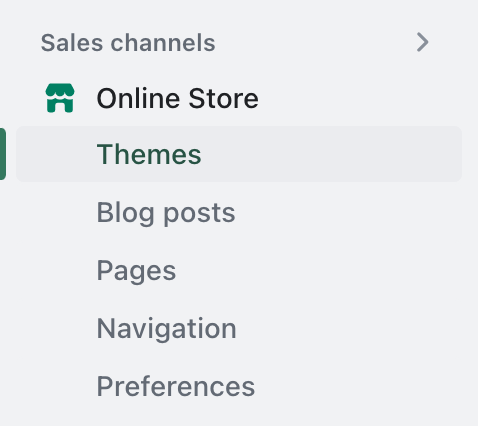
3. For the theme you want to edit, click on the "Customize" button to open the theme editor:
2. Customizing Adorn Default Theme Content
The Adorn theme comes pre-translated into over multiple languages. However, you may want to modify some default text to better align with your brand's voice.
To customize the content, navigate to the theme list and locate Adorn. Click on the "More actions" button (three dots), and select "Edit default theme content."
A list of all the pre-defined text used in the theme will appear. To change any specific wording, simply type the first few letters in the "Filters" box to locate it, and then update the text as desired.

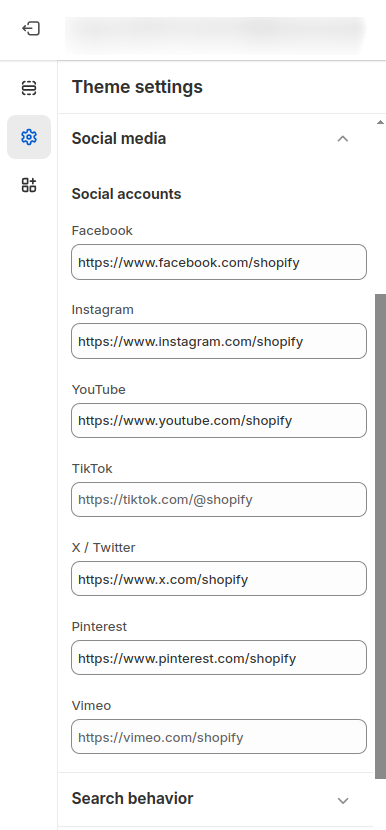
3. Enable Social media icons
Here you can enable those Social media icons, which you want to show on your store also edit the links of these icons.
Go to Online Store >>Themes >> Customize >> Theme Settings >>Social Media
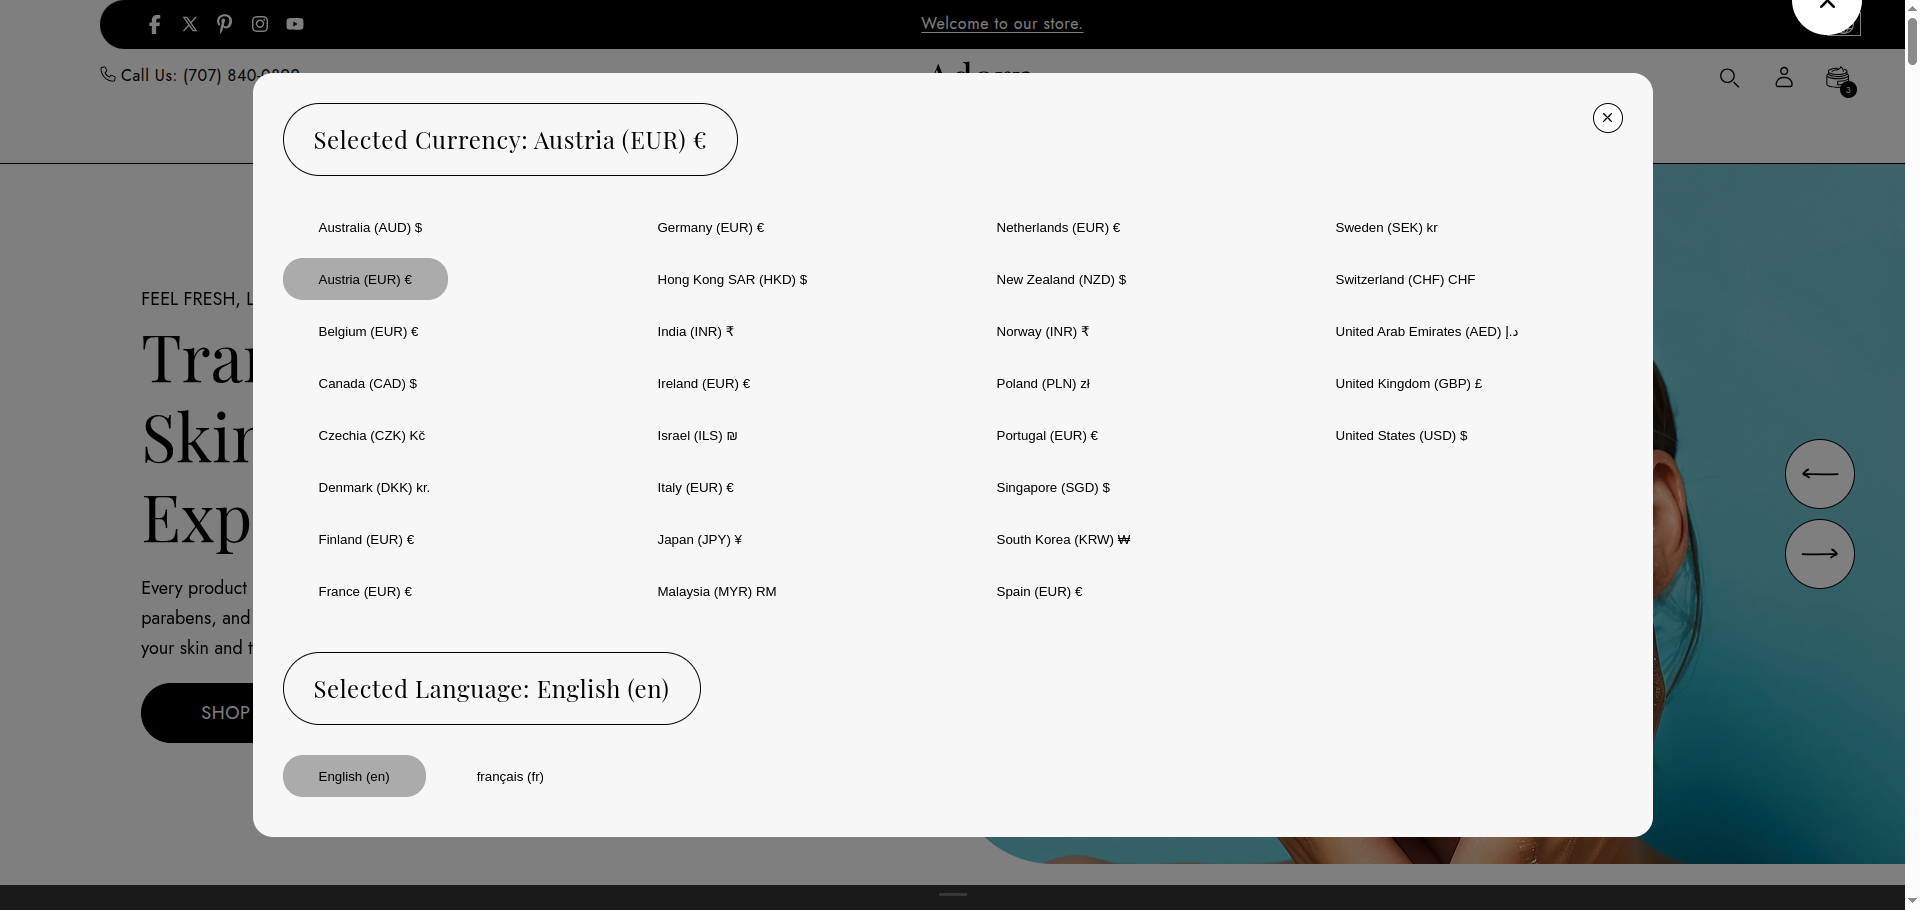
3. Change Currency/Language Selector Colors
Go to Online Store >>Themes >> Customize >> Theme Settings >> Currency/Language Selectors

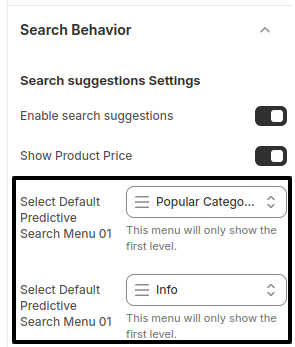
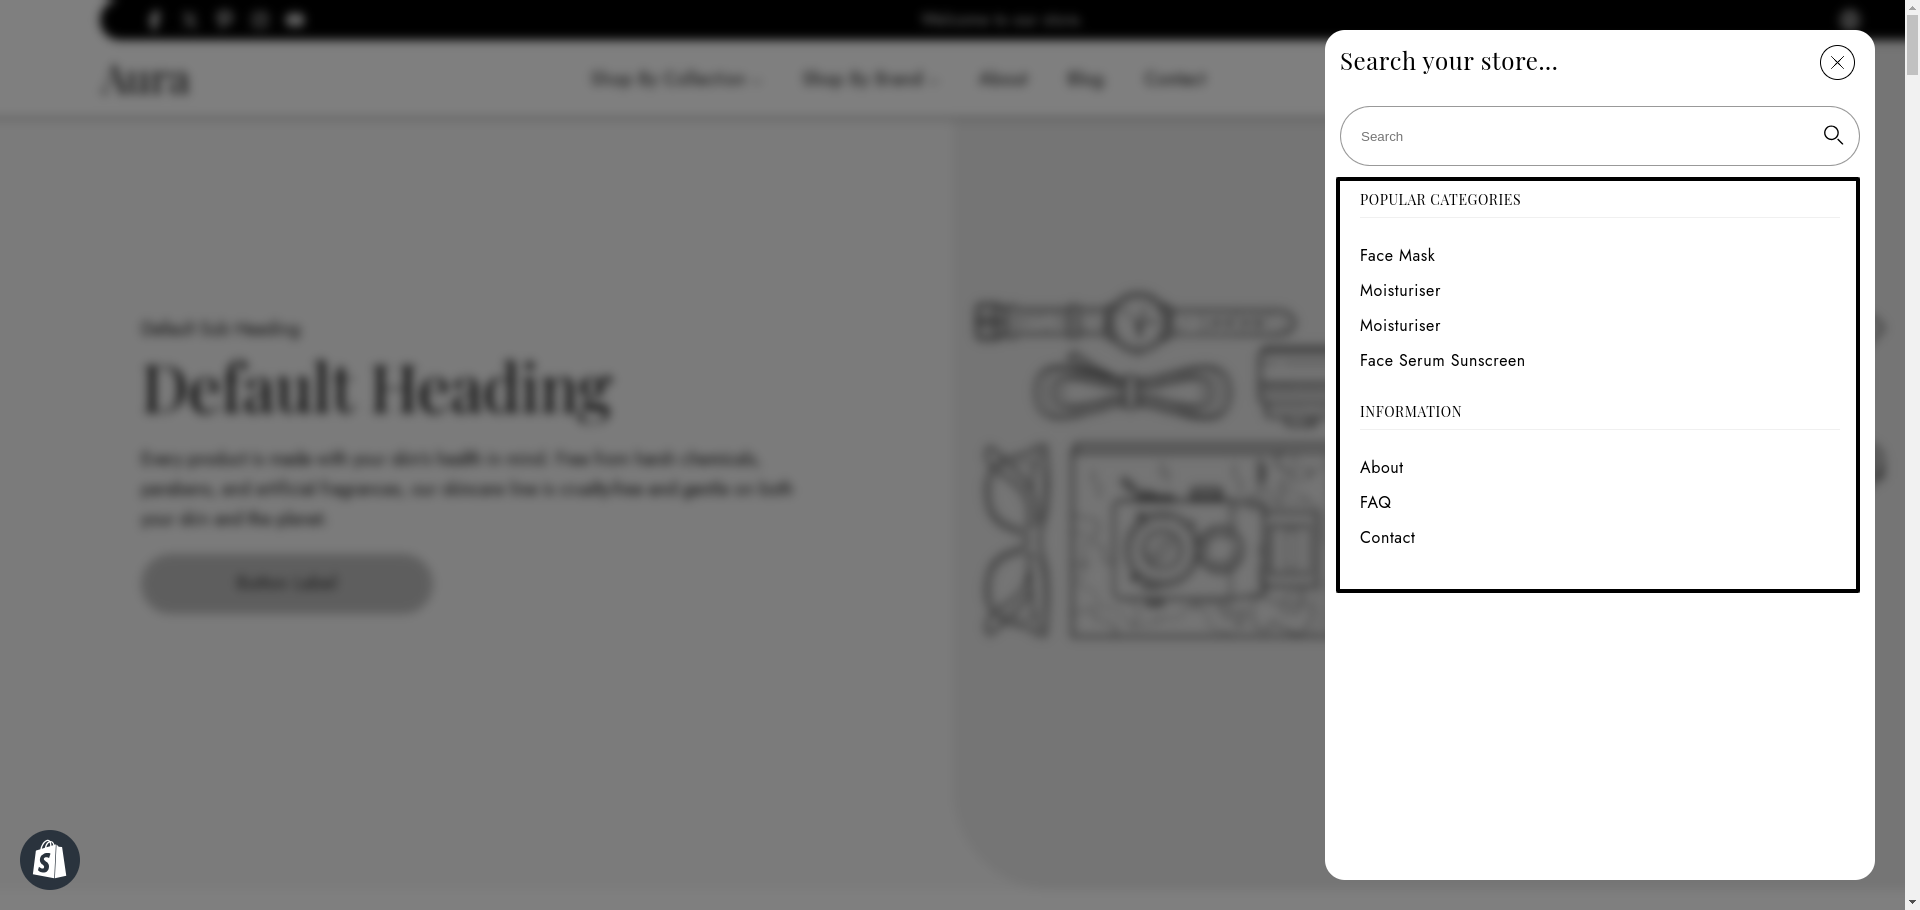
3. Search Drawer Secondary Menu
Go to Online Store >>Themes >> Customize >> Theme Settings >> Search Behavior
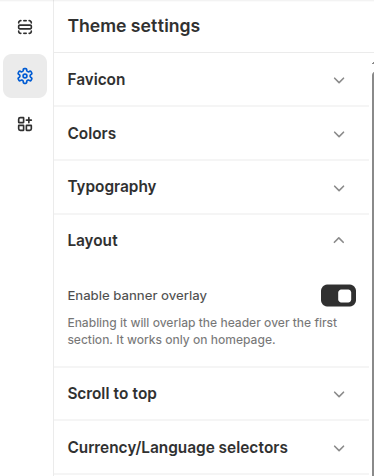
4. Theme Layout Setting
Go to Online Store >>Themes >> Customize >> Theme Settings >> Layout
- Container Width: Set the maximum width of the section.
- Container Inline Padding: Controls the left and right padding inside the container. Adjust for spacing as needed
- Horizontal Spacing: Defines the space between elements horizontally.
- Vertical Spacing: Controls the spacing between stacked sections vertically.
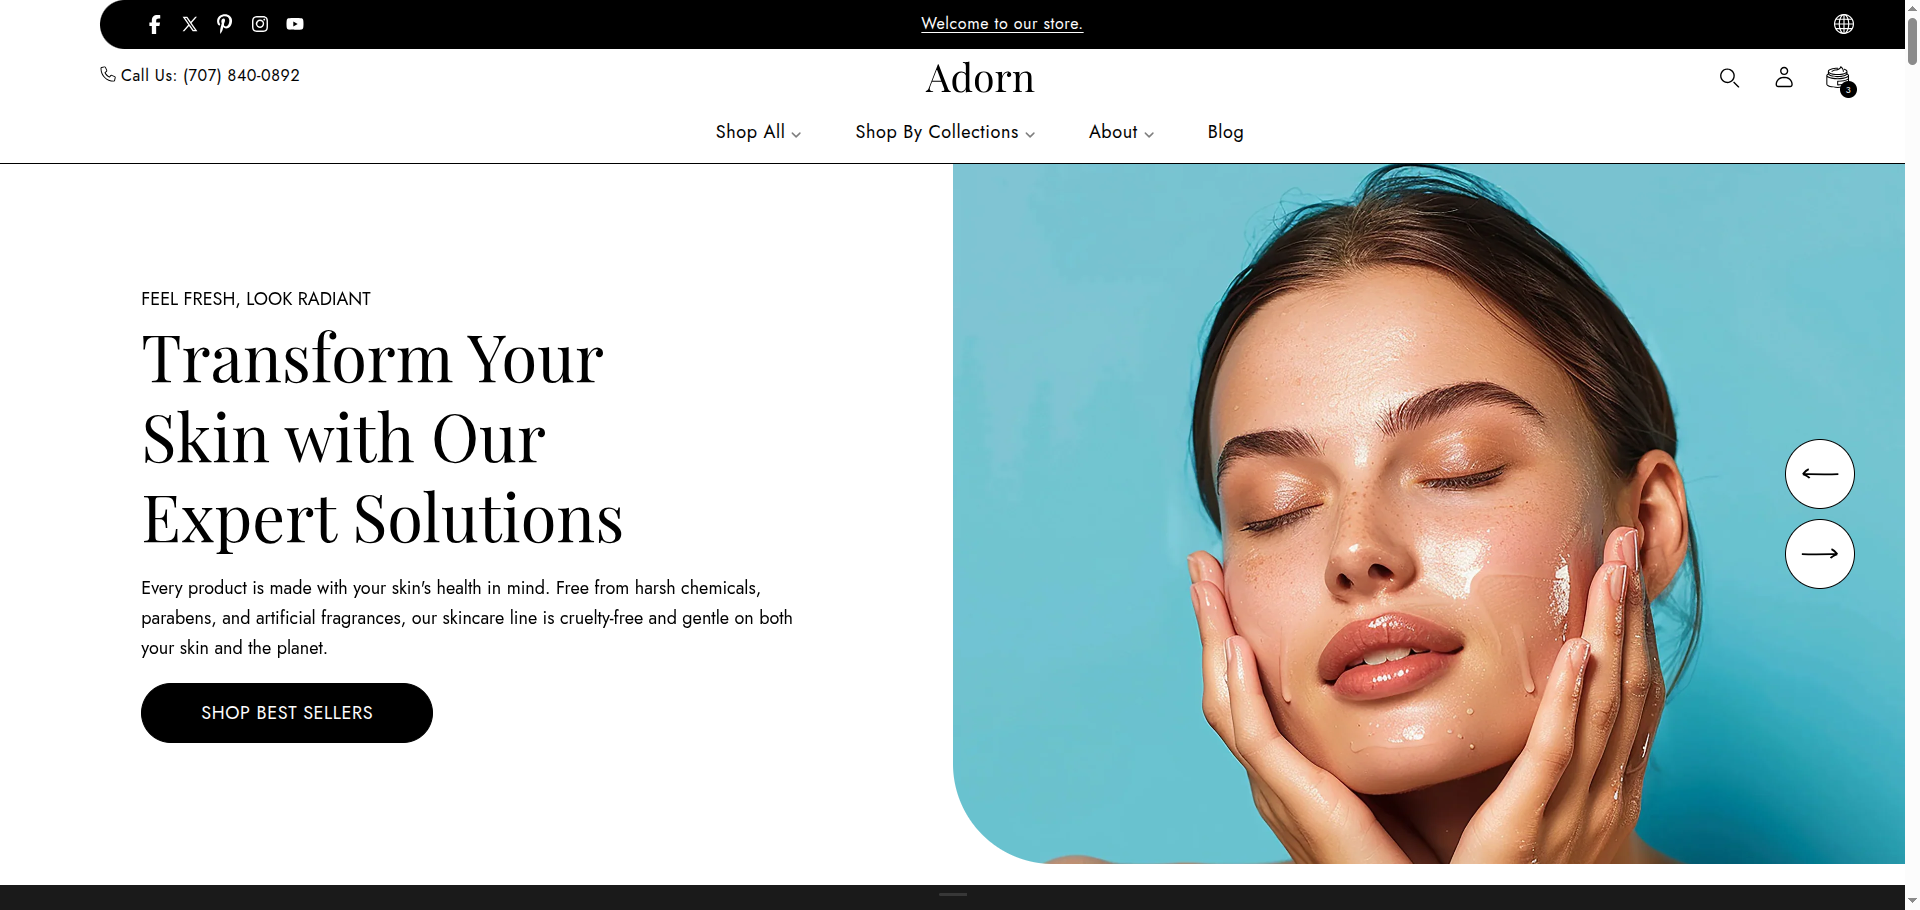
- Enable Banner Overlay:
Toggle this option to allow the header to overlap the first section (e.g., hero/banner).
This works only on the homepage. - Button Border Radius: Adjust the roundness of buttons within this section. Higher values will result in more rounded buttons.
5. Badges Settings
Go to Online Store >>Themes >> Customize >> Theme Settings >> Badges
- Badge Shape: Choose the shape of the badge displayed on product cards. Options
include:
- Vertical
- Horizontal
- Position on Cards: Choose where the badge will appear on the product card. This
helps ensure visibility and aesthetic alignment based on your store's layout. The
available positions are:
- Top left – Displays the badge at the top-left corner of the product image.
- Top center – Centers the badge horizontally at the top of the product image.
- Top right – Aligns the badge at the top-right corner of the product image.
- Bottom left – Places the badge in the bottom-left corner of the product image.
- Bottom center – Centers the badge horizontally at the bottom of the product image.
- Bottom right – Positions the badge in the bottom-right corner of the product image.
- Corner Radius: Set the roundness of the badge's corners. Example: 10 for slightly rounded corners.
- Sale Badge Background Color: Pick the background color for the "Sale" badge.
- Sale Badge Text Color: Choose the text color for the "Sale" badge.
- Sold Out Badge Background Color: Set the background color for the "Sold Out" badge.
- Sold Out Badge Text Color: Choose the text color for the "Sold Out" badge.
6. Gift Wrapping
Gift wrapping is a service that allows customers to have their purchased products wrapped as gifts. Store admins can create a dedicated gift wrap product and offer it alongside regular products. This feature not only adds a personalized touch for special occasions like birthdays, anniversaries, and holidays but also creates an additional revenue stream, as many customers are willing to pay extra for the convenience.
Steps to Enable Gift Wrapping
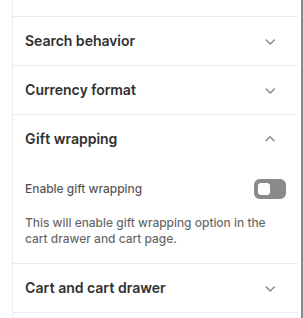
1. Enable Gift Wrapping
- In the theme settings, turn on the Gift Wrapping option.
- This will display the gift wrapping choice in the cart drawer and cart page.
2. Create Gift Wrap Product
- Go to Shopify Admin → Products → Add product.
- Create a product named “Gift Wrapping” (the URL handle should be "gift-wrapping").
- Set the price you want to charge for the wrapping service.
- Mark the product as not visible in the main store collections, so it only appears as an option in the cart.
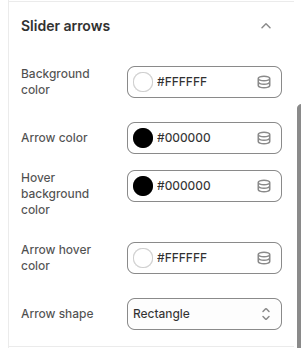
7. Slider Arrows
The Slider Arrows settings allow you to customize the appearance of navigation arrows used across sliders in the theme. Any changes made here will be applied globally, affecting all sliders throughout the store.
Steps to Enable Gift Wrapping
Go to Online Store >> Themes >> Customize >> Theme Settings >> Slider Arrows
Steps to Configure:
- Background Color: Select the background color of the arrows.
- Arrow Color: Choose the color of the arrow icons.
- Hover Background Color: Set the background color of the arrows when hovered.
- Arrow Hover Color: Define the arrow icon color when hovered.
- Arrow Shape: Choose the shape of the arrows from the available options:
Circle
Rectangle
Square
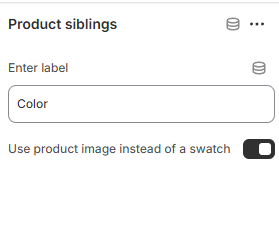
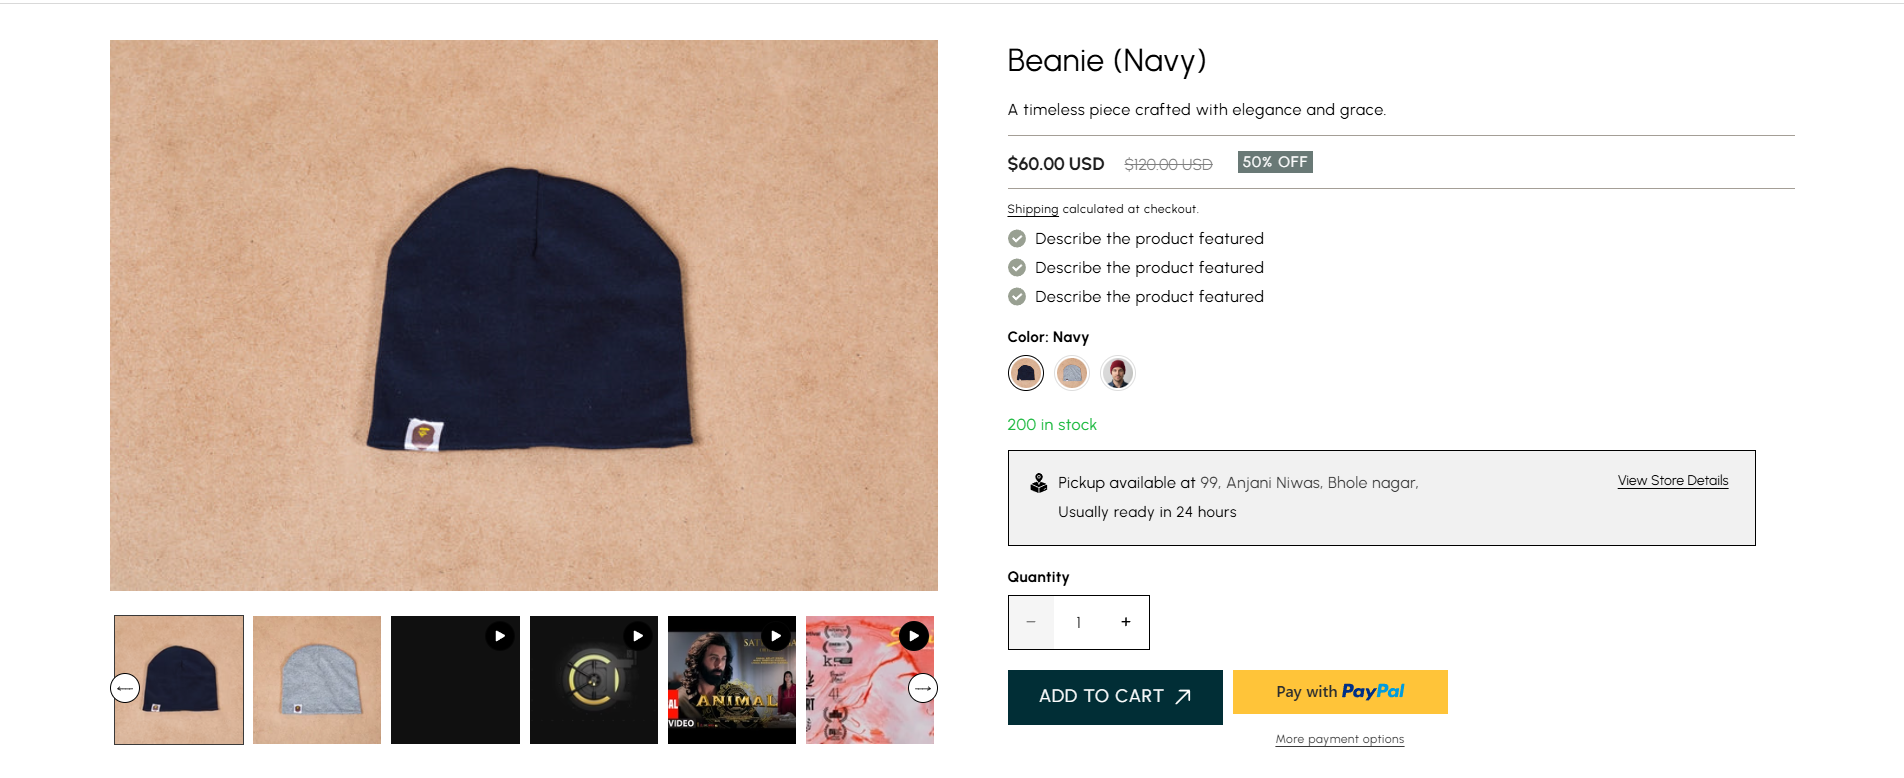
8. Product Siblings Feature
The Product Siblings feature allows you to link related products (such as different color variants) on the product page. These linked products are displayed as swatches, making it easy for customers to switch between sibling products. Swatches can be shown as colors or product images, and their shape can be customized globally.
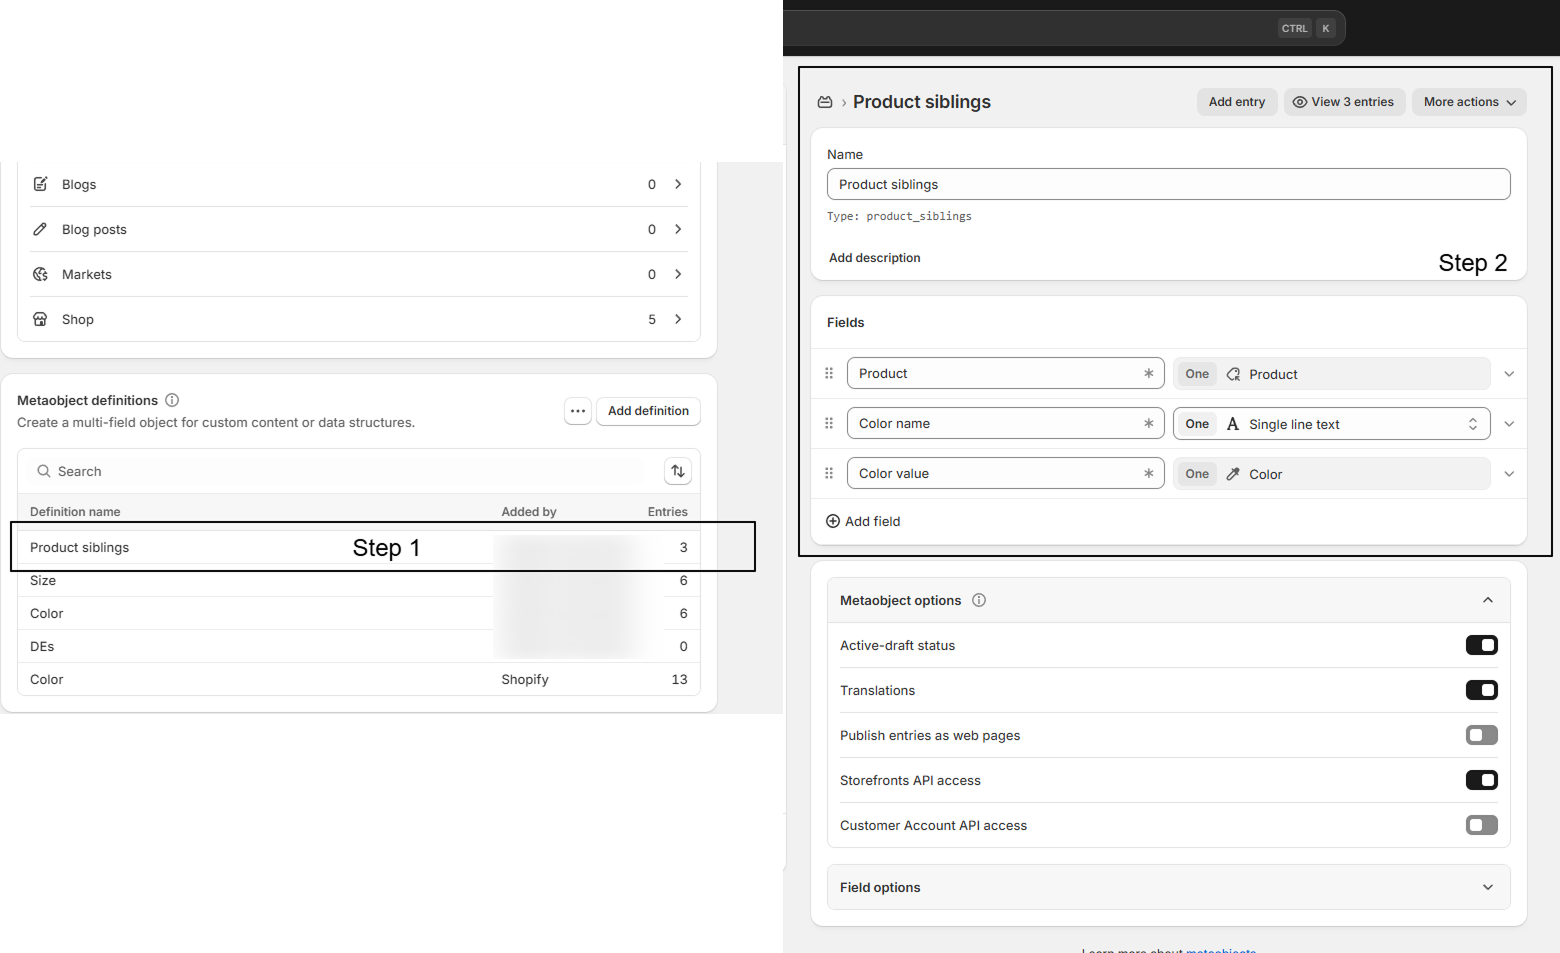
Steps to Enable Product Siblings
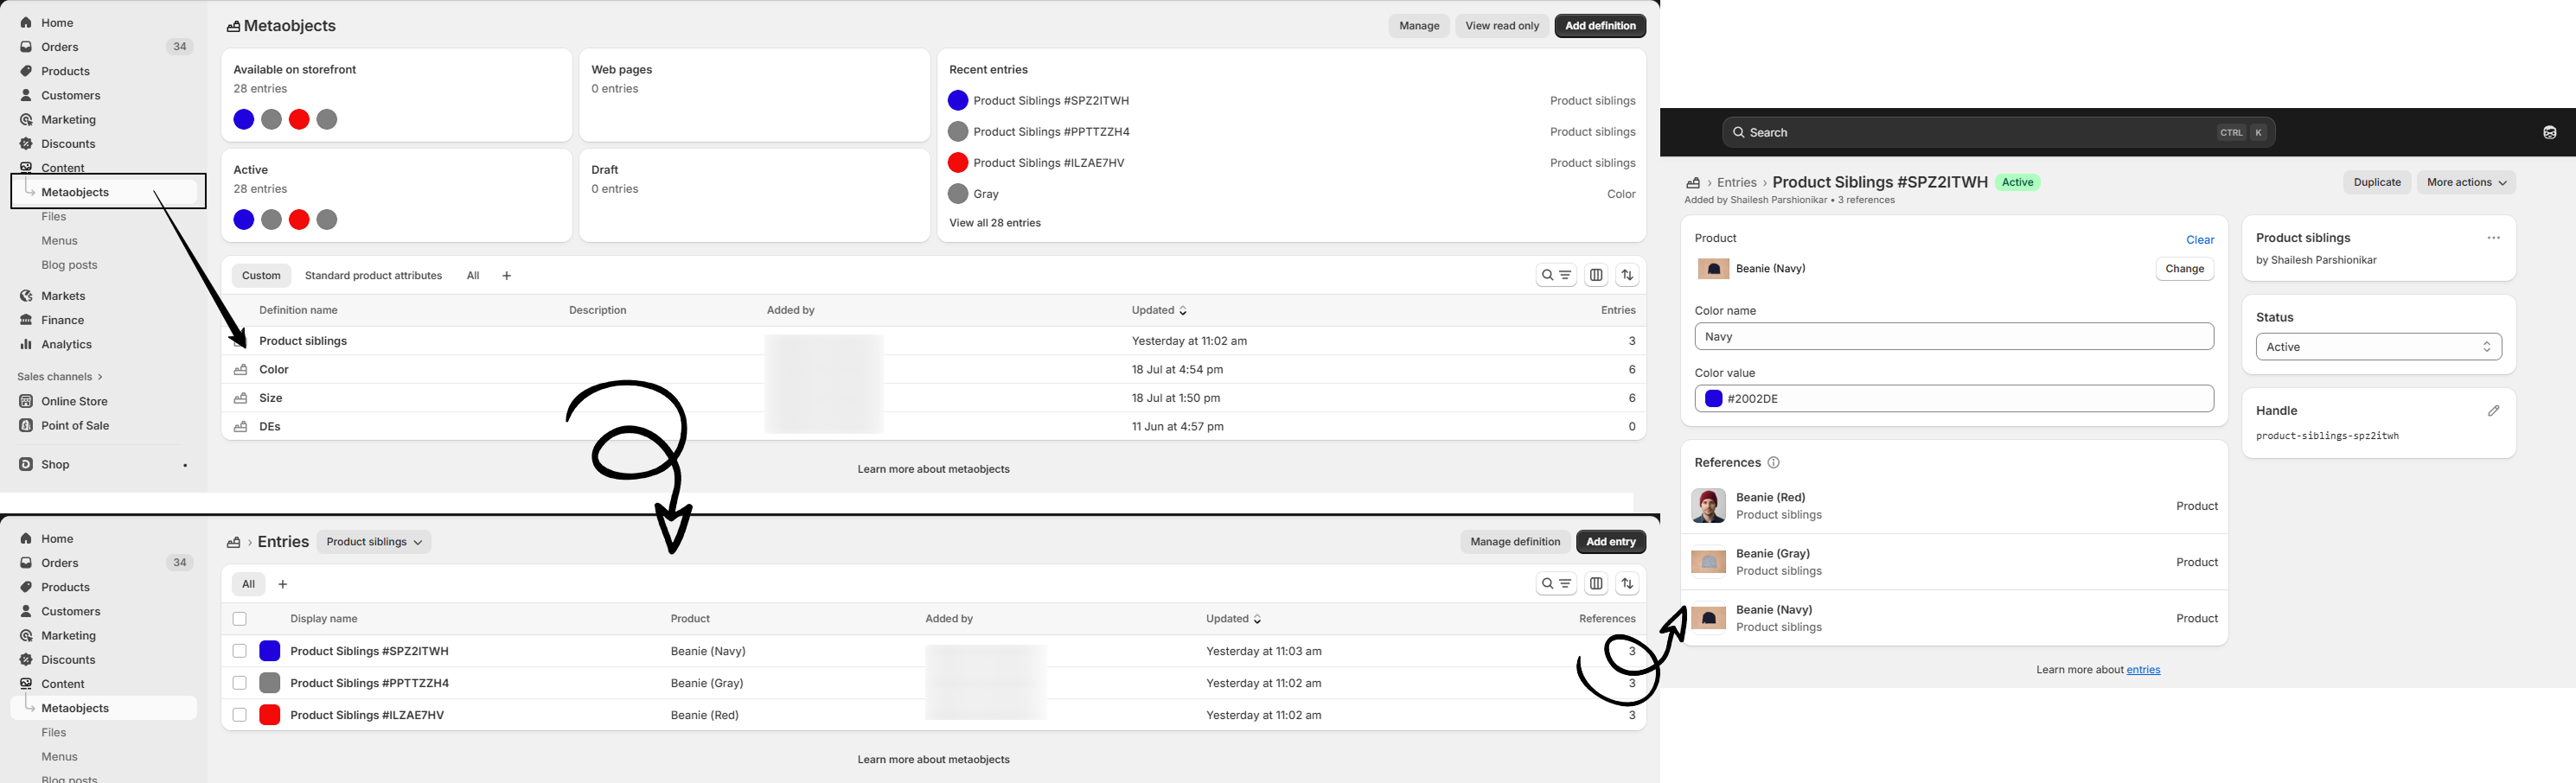
Go to Admin Panel >> Content >> Metaobjects
Steps to Configure:
- Create Metaobject: Create a metaobject named Product siblings.
-
Add Fields:
Add the following fields inside the metaobject:
- Product: Type – Product (Single value)
- Color name: Type – Single line text (Single value)
- Color value: Type – Color (Single value)
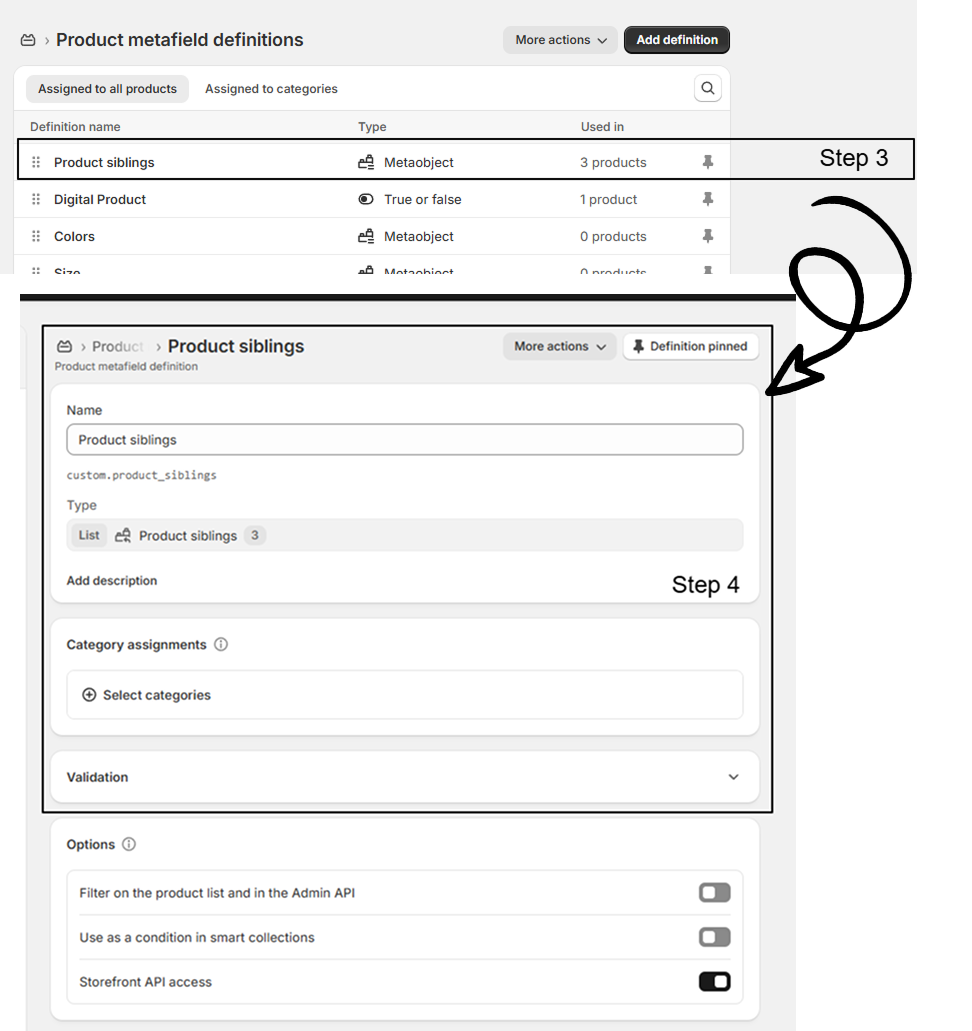
- Create Metafield: Go to Settings >> Custom data >> Products and create a metafield named Product siblings. Connect it with the Product siblings metaobject and set it as a List of values.
- Add Metaobject Entries: Go to Content >> Metaobjects >> Product siblings, click Add entry, and fill in the product, color name, and color value.
- Assign to Products: Open each product and add the relevant Product siblings entries in the metafield.
Customization Options:
- Add Product Siblings block on Product Page: Go to the Theme Customizer and navigate to the Product page. In the Product page section, add the Product Siblings block
- Product Image Swatches: Enable the checkbox in the Theme Customizer to replace color swatches with product images.
- Swatch Shape: Change the global swatch shape (circle, square, etc.) from theme settings.