
Before After Scroll Reveal
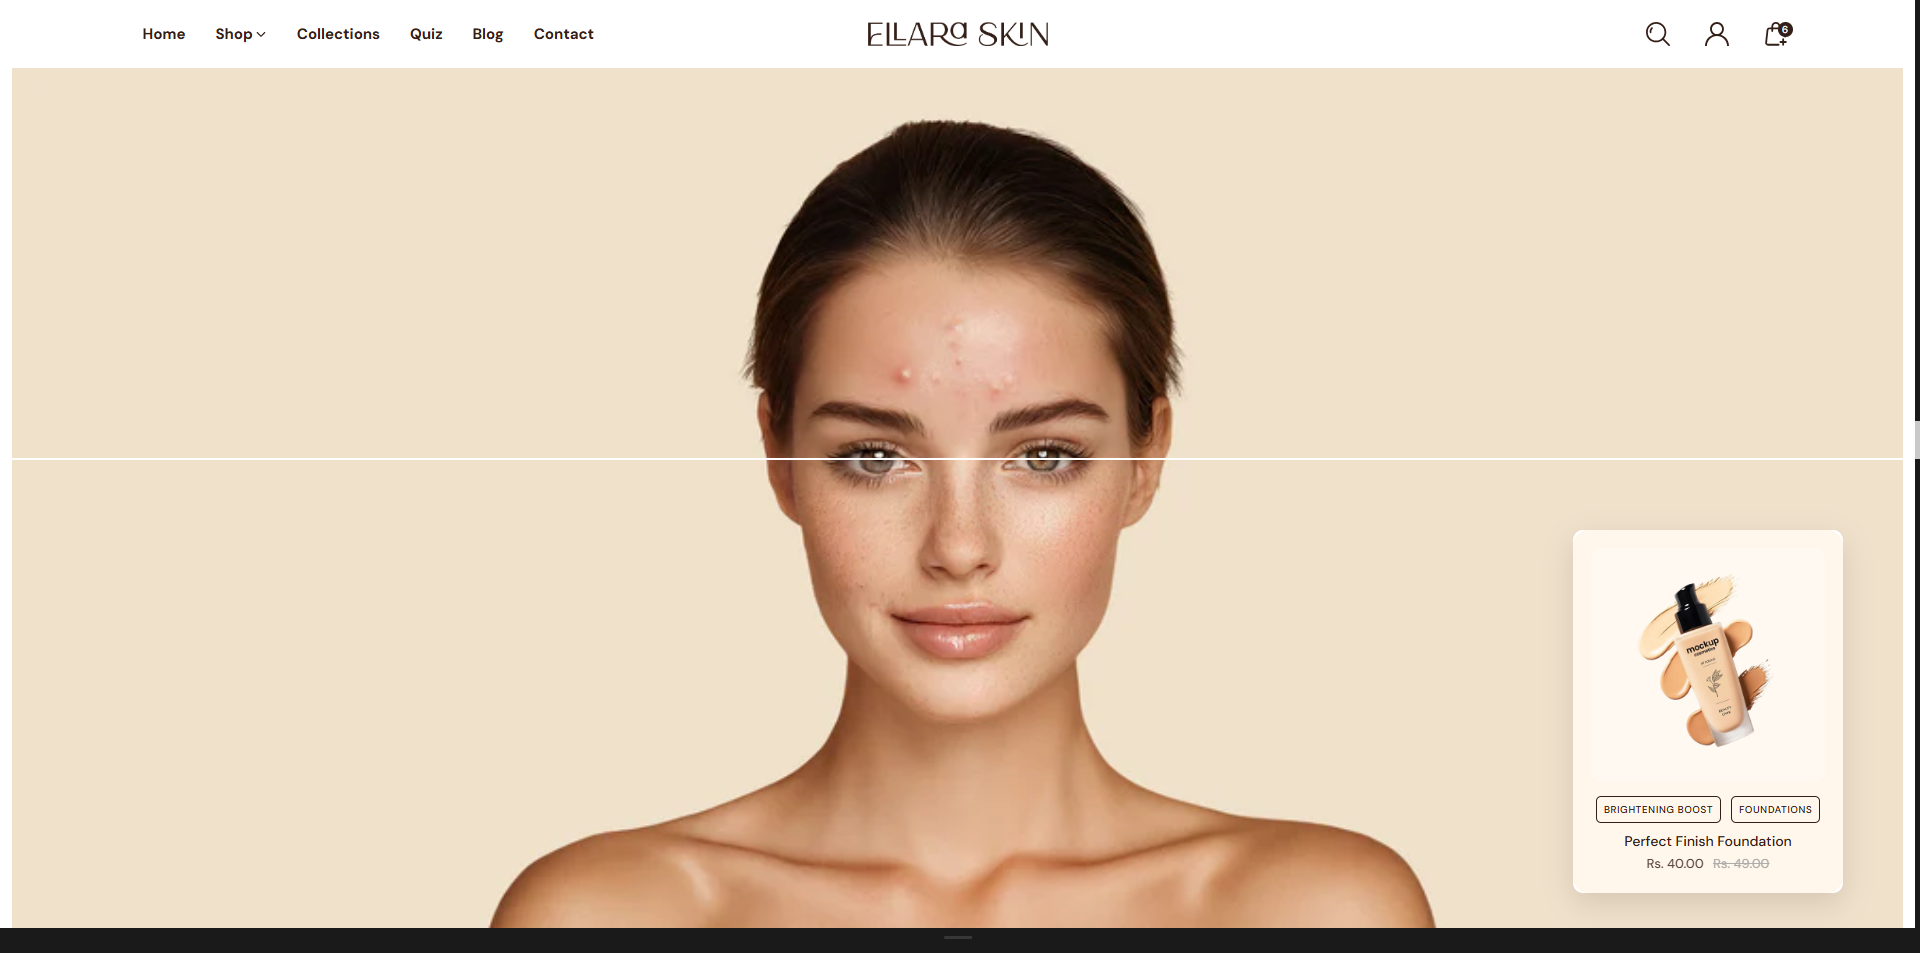
The Before After Scroll Reveal section lets you highlight real, visible results by comparing two images in an interactive way. Customers can drag or scroll to reveal the transformation, making it easy to understand the impact of your product at a glance. This engaging visual format builds trust, tells a clear story, and helps shoppers connect with the results before making a purchase.
Adding the Before After Scroll Reveal section
- Open the Customizer and go to the page where you want to add the "Before After Scroll Reveal" section.
- On the left-hand side, you'll find a list of available sections. Click the "Add section" button.
- From the available options, choose "Before After Scroll Reveal" to add it to your page.
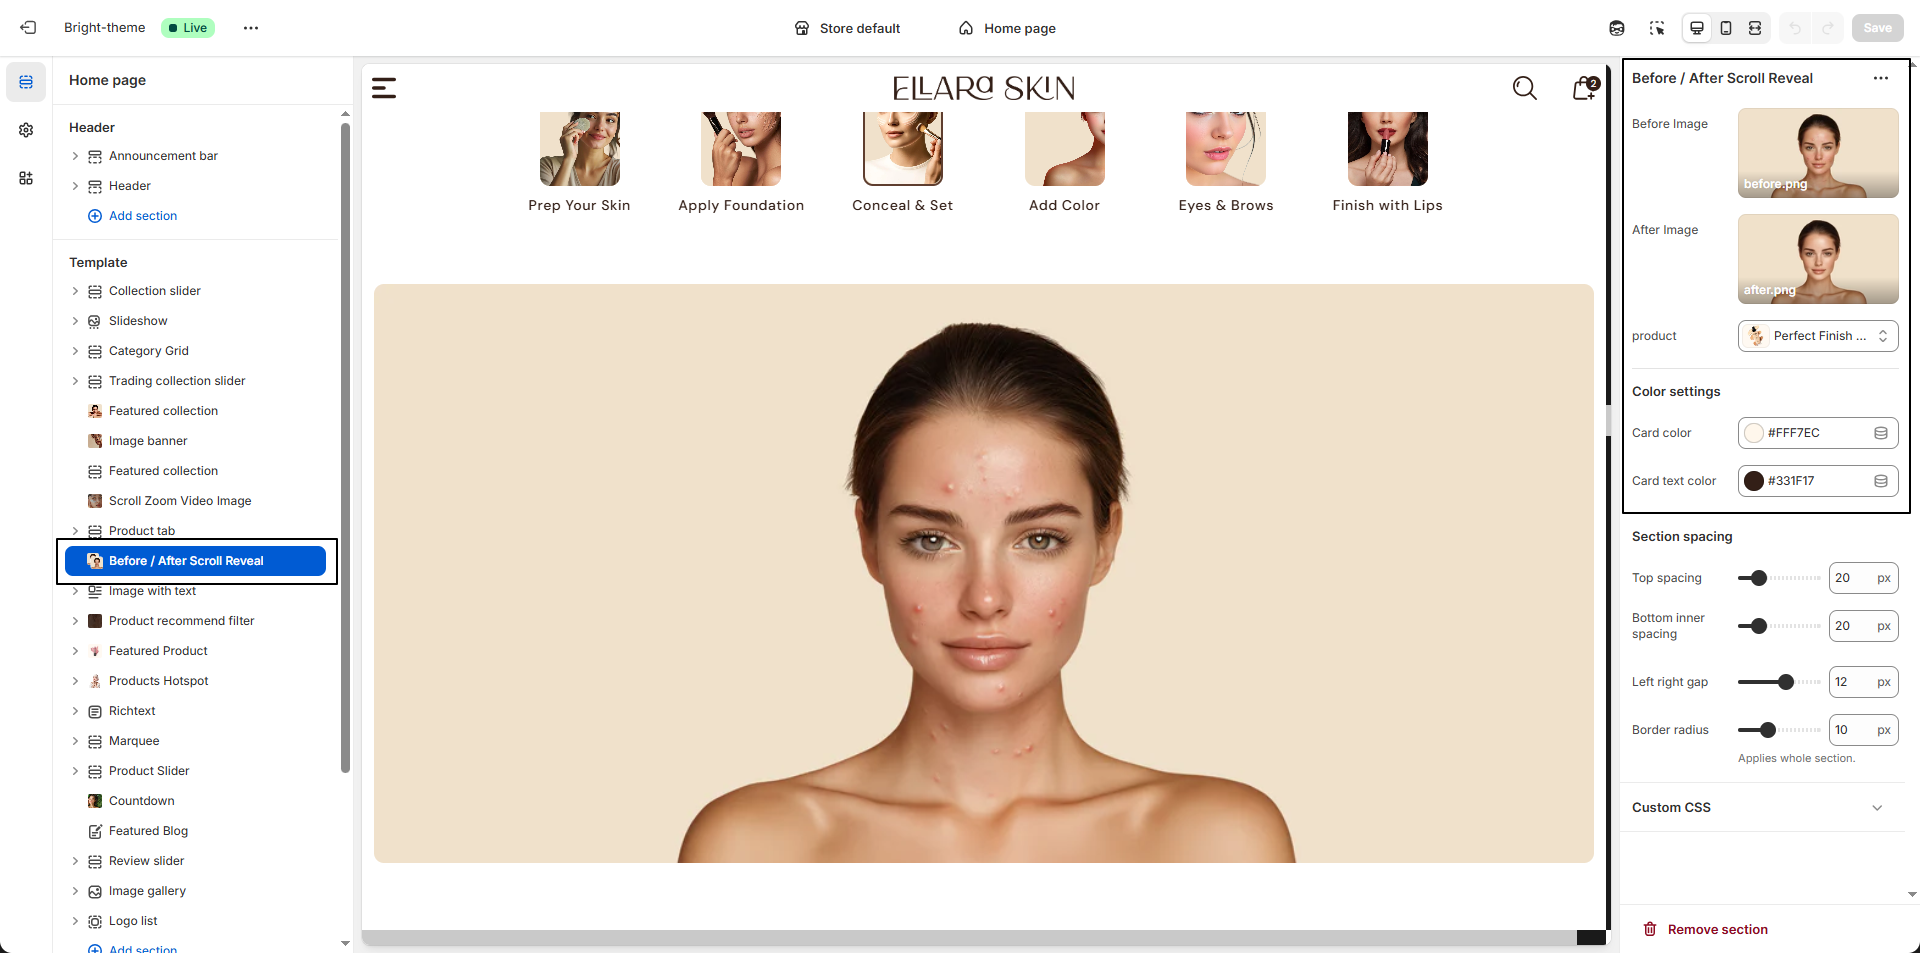
How to edit the Before After Scroll Reveal section
Steps for Configuring the "Before After Scroll Reveal" Section in the Dynamic Theme
-
Before Image:
Upload the image that represents the “before” state of the product result.
- Click Upload images to add an image from your device.
- If no image is uploaded, the section will not display correctly.
-
After Image:
Upload the image that shows the “after” result achieved using the product.
- Click Upload images and select the final result image.
- Make sure both images are similar in size for the best comparison effect.
- Select Product: Choose the product you want to associate with the before/after comparison. This helps connect the visual result directly to the featured product.
- Card Background Color: Set the background color of the content card that appears with the images.
- Card Text Color: Choose the text color used inside the card for headings and product details to maintain readability and brand consistency.